How to Install Textured Wall Paneling
How to Install Textured Wall Paneling: Pro Techniques for Flawless Results (2024)
(WPC • PU Stone • Bamboo Charcoal • PVC Solutions)
✅ Why Choose Textured Panels?
| Texture Type | Best For | Witop Product Match |
|---|---|---|
| Wood Grain | Warm, natural feel | WPC Wall Panels |
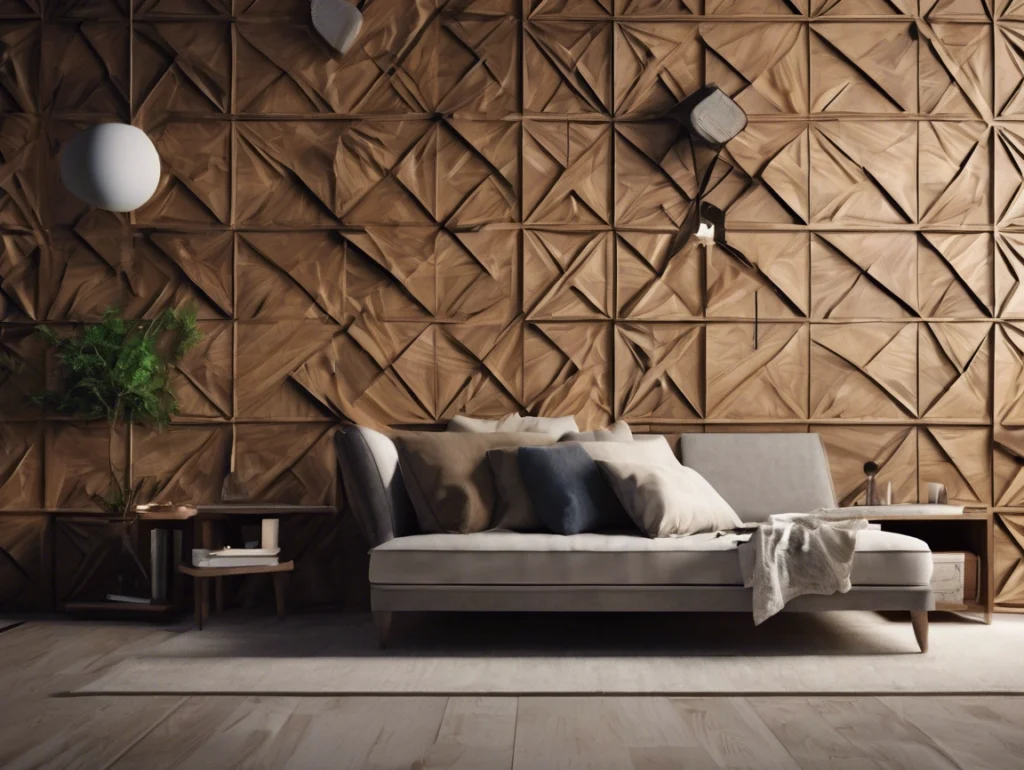
| 3D Geometric | Modern depth | 3D Wave Panels |
| Stone Roughness | Rustic authenticity | PU Stone Panels |
| Woven Fabric | Acoustic + tactile | Bamboo Charcoal Fabric Series |
🧪 Performance Fact: Witop’s textured panels hide wall imperfections up to 1/4″ deep.
🧰 Tools & Materials Checklist
Essential Tools:
- Laser level • Notched trowel • Jigsaw • Rubber mallet • Gap spacers
Witop’s Texture-Specific Products:
- LevelBond™ Adhesive: Non-sag formula for vertical textures
- ClipLock Edge System: For seamless 3D/WPC panels
- Texture Roller Kit: Blends seams on stone/wood looks
🔁 Step-by-Step Installation Guide
1. Wall Prep (Critical for Textures)
- **Clean:** Degrease with Witop PrepWash™
- **Level:** Fill gaps >1/8" with leveling compound
- **Prime:** Use grip-enhancing primer for heavy textures
Skip this → 80% of texture alignment failures
2. Pattern Planning
- **Directional Textures:** Run wood grains vertically → height illusion
- **3D Panels:** Start from light source → shadow consistency
- **Brick/Stone:** Dry-fit → avoid small cuts at eye level 3. Cutting Techniques
| Texture Type | Blade | Technique |
|---|---|---|
| WPC Wood | 80-tooth TCT | Cut face-up to prevent tear |
| PU Stone | Diamond-grit blade | Score-and-snap method |
| 3D PVC | Fine-tooth jigsaw | Support backside with foam |
4. Adhesive Application
- For Heavy Textures (PU Stone/WPC):markdown复制
1. Apply LevelBond™ with 1/4" x 1/4" notch trowel 2. Back-butter panel grooves - For Light Textures (PVC/Bamboo):markdown复制
1. Use Witop EZ-Stick™ spray adhesive 2. Wait 90 seconds before positioning
5. Installation & Alignment
1. **Start at corner:** Use laser level for plumb line
2. **Press firmly:** Work from center out → force adhesive into texture
3. **Seam alignment:**
   - Wood grains: Match grain direction at joints
   - 3D panels: Use ClipLock tabs for height matching
4. **Gap control:** Insert 0.5mm spacers every 24" 6. Sealing Textures
- Deep Grooves: Inject silicone with needle applicator
- Porous Surfaces: Apply Witop TextureSeal™ penetrating guard
⚠️ 5 Texture-Specific Mistakes to Avoid
- Ignoring Light Direction:
→ Install 3D panels perpendicular to windows - Over-Adhesive:
→ Causes squeeze-out in textures (nightmare to clean) - Mismatched Batch Numbers:
→ Slight texture variations between lots - Wrong Cleaning Method:
→ Never pressure-wash interior textures - Sealing Before Cure:
→ Wait 72 hrs before applying protectants
💰 Cost/Speed Comparison
| Method | Cost per 100 sq.ft | Time | Notes |
|---|---|---|---|
| DIY WPC | $620 | 6 hrs | Requires ClipLock kit |
| PVC Self-Stick | $380 | 3 hrs | Rent roller for bubbles |
| Pro PU Stone | $1,100 | 9 hrs | Includes texture blending |
🌡️ Climate Control Tips
- Humidity >60%: Reduce adhesive open time by 25%
- Temps <50°F (10°C): Use Witop WinterBond™ adhesive
- Direct Sunlight: Install early morning → panels expand less
🛠️ Pro Texture-Blending Techniques
- Stone/Wood Grains:
- Stagger joints in 1/3 pattern → never stack seams
- Directional Textures:
- Mark arrows on panel backs for consistency
- 3D Panel Transitions:
- Use Witop’s Transition Strips between patterns
❓ Top 3 Texture Questions
How to clean adhesive from deep grooves?
✅ Use Witop Adhesive Remover Gel + nylon brush
Can I install over existing textured walls?
✅ Only if pattern depth <1/8″ → use leveling strips
Best texture for rental homes?
✅ Bamboo Charcoal Peel-and-Stick → removable + masks scuffs
Free samples
In recent years, composite products have become more and more popular all over the world. We believe you will also be interested in this new material. If you are interested, you can come to consult us. We have a professional service team that can not only answer any questions you may have but also provide you with free samples. Let you better understand the composite products. There is no doubt that composite wall panels will be the new future.
Share

James is a content creator and decorator with five years of experience designing home decor. In his daily life, james is constantly on the lookout for the latest, great examples of house design and further optimizes his solutions. Additionally, he writes articles related to outdoor design, interior design, and architectural decorating materials to help brands build more engaging relationships with their audiences.