
How to install shower wall panels
How to Install Shower Wall Panels: DIY Guide in 5 Steps (2024)
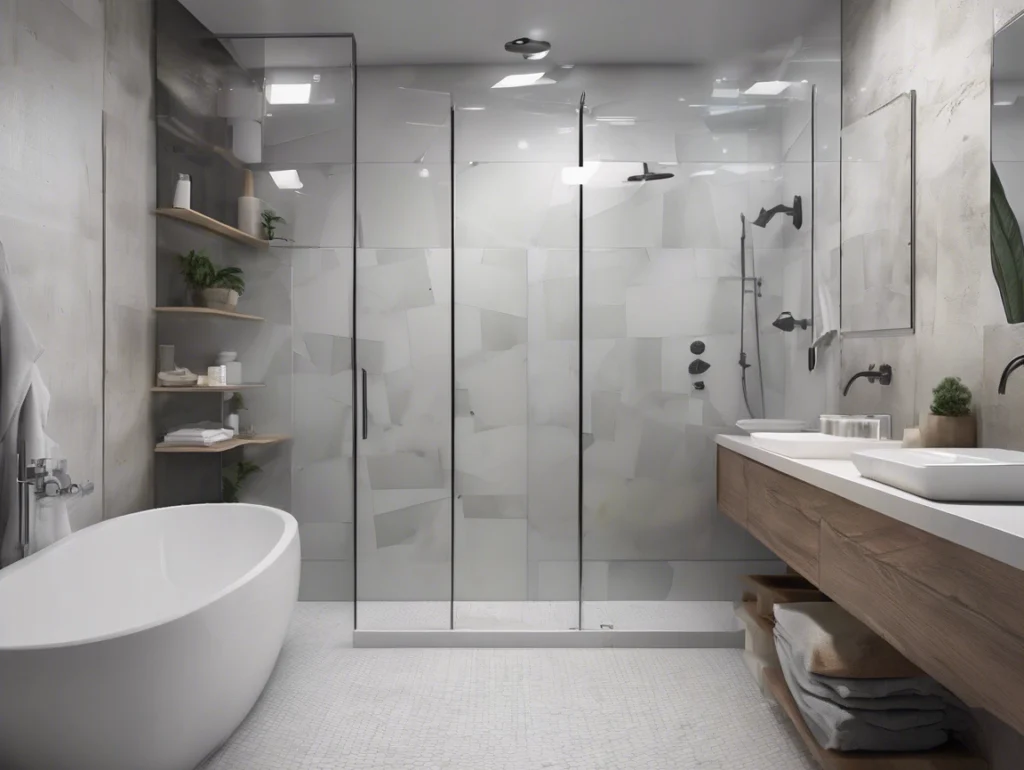
Transform your bathroom in 48 hours—no tiling skills needed! Waterproof, mold-resistant, and stunning results.
Why Choose Shower Wall Panels?
| Feature | Panels | Traditional Tile |
|---|---|---|
| Install Time | 4–8 hours (DIY) | 2–5 days (needs pro) |
| Cost | 8–25/sq. ft. | 15–50/sq. ft. |
| Waterproof | ✅ Seamless | ❌ Grout leaks possible |
| Maintenance | Wipe with soap/water | Regrout yearly |
🚫 Do NOT Use These Materials!
- MDF/OSB Panels: Swells when wet
- Thin PVC (<5mm): Warps in steam
- Adhesives NOT Rated for Wet Areas
Pro Pick: 8mm PVC panels or solid acrylic (like Swanstone) for best results.
Tools & Materials
(Cost: 250–600 for standard tub surround)
| Tools | Materials |
|---|---|
| Level + Laser Measure | Shower panels (5-10% extra) |
| Notched Trowel | 100% Silicone Sealant (GE Supreme) |
| Jigsaw/Fine-tooth Saw | Panel Adhesive (Liquid Nails LN-907) |
| Caulk Gun | Corner/End Trim (color-matched) |
Step-by-Step Installation
1. Prep Walls (60–90 mins)
- Remove old tile/glue: Scrape to bare cement board/drywall.
- Check level: Use laser level—walls must be flat (max ⅛” gap over 6 ft).
- Cut plumbing holes: Measure valve/head locations → cut panels before install.
- Run bead of sealant: Along tub/wall joint (critical for leak prevention!).
2. Dry Fit Panels (30 mins)
- Arrange panels in order (match pattern/grain).
- Mark stud locations → transfer marks to panel backs.
3. Apply Adhesive (15 mins)
- Use notched trowel: Spread adhesive on wall in vertical lines.
- Key areas: Extra adhesive around plumbing cuts & edges.
- Work in sections: Adhesive skins over in 20 mins!
4. Install Panels (2–3 hours)
- Start at back wall → press panels firmly into adhesive.
- Fasten securely: Use corrosion-resistant screws only at studs (hidden behind trim later).
- Seal seams: Apply silicone between panels immediately.
- Pro tip: Slide plastic wedges under panels to maintain 1/16″ expansion gap at tub.
5. Finish & Seal (45 mins)
- Install trim: Snap color-matched PVC trim over edges.
- Final sealing:
- Tub/panel joint: Clear silicone
- Internal corners: Color-matched silicone
- Smooth silicone with wet finger → wait 24 hrs before use.
6 Mistakes That Cause Leaks
- Skipping tub/wall sealant under panels
- Using acrylic adhesive on PVC panels
- Over-tightening screws (causes buckling)
- Sealing only the front of plumbing holes (seal flange backs too!)
- Installing panels touching tub (always leave gap)
- Using latex caulk instead of 100% silicone
Shower Panel Types Comparison
| Type | Best For | Lifespan | DIY Difficulty |
|---|---|---|---|
| PVC | Budget DIY, high-moisture | 15–25 years | ⭐⭐☆ (Easy) |
| Acrylic | Premium look, rentals | 20–30 years | ⭐☆☆ (Very Easy) |
| WPC | Eco-friendly, warm feel | 25+ years | ⭐⭐☆ |
| Stone Resin | Luxury spas | Lifetime | ⭐⭐⭐⭐ (Hire Pro) |
FAQs
Can I install panels over existing tile?
✅ Yes—BUT only if tiles are solid (no hollow spots). Use extra adhesive. Not recommended near valves.
Do panels work for steam showers?
✅ Yes! Use solid surface panels (acrylic/stone resin) rated for 130°F+.
How to clean panels?
Mild soap + soft cloth. NEVER use abrasives or vinegar (clouds acrylic).
Free samples
In recent years, composite products have become more and more popular all over the world. We believe you will also be interested in this new material. If you are interested, you can come to consult us. We have a professional service team that can not only answer any questions you may have but also provide you with free samples. Let you better understand the composite products. There is no doubt that composite wall panels will be the new future.
Share

James is a content creator and decorator with five years of experience designing home decor. In his daily life, james is constantly on the lookout for the latest, great examples of house design and further optimizes his solutions. Additionally, he writes articles related to outdoor design, interior design, and architectural decorating materials to help brands build more engaging relationships with their audiences.


