How to Install UV Board on Walls: Step-by-Step Guide
(DIY-Friendly with Pro Results in 3 Hours)
🧰 Tools & Materials You’ll Need
| Essential Tools | Witop® Kit Includes |
|---|---|
| Utility knife | Peel-and-stick UV boards |
| Measuring tape | Edge sealing strips |
| Level | Gap spacers (1/8″) |
| Squeegee/card | Corner guards |
| Silicone gun | Alcohol wipes |
| Stud finder (optional) |
✅ 6-Step Foolproof Installation
1. Prep the Wall (★ Critical!)
- Clean: Wipe with alcohol wipes (remove dust/oil)
- Repair: Fill holes/cracks → sand smooth
- Check: Use level – mark uneven spots
Skip this → boards won’t stick!
2. Find Studs (For Heavy Boards)
- Use stud finder → mark vertical lines
- For light boards (<5mm): Skip this step
3. Measure & Cut Boards
- Measure wall height/width
- Cut boards with utility knife:
- Score deeply → snap cleanly
- Leave extra 1″ on all sides
4. Peel & Stick (Watch Technique!)
A[Peel 6” backing] --> B[Align top edge]
C[Press with squeegee] --> D[Pull backing while pressing down] - Key: Work top→bottom, left→right
5. Handle Joints & Corners
- Use gap spacers (1/8″ between boards)
- Match patterns → press seams flat
- Corners: Install corner guards
6. Seal Edges
- Apply silicone sealant:
- Around windows/doors
- Top/bottom edges
- Electrical outlets
⏱️ Time & Cost Savings
| Method | Time (10×8 ft wall) | Cost |
|---|---|---|
| Hiring Pro | 6-8 hours | $650+ |
| DIY with Witop® | 2-3 hours | $0 labor |
🌧️ Special Area Tips
| Location | Key Steps |
|---|---|
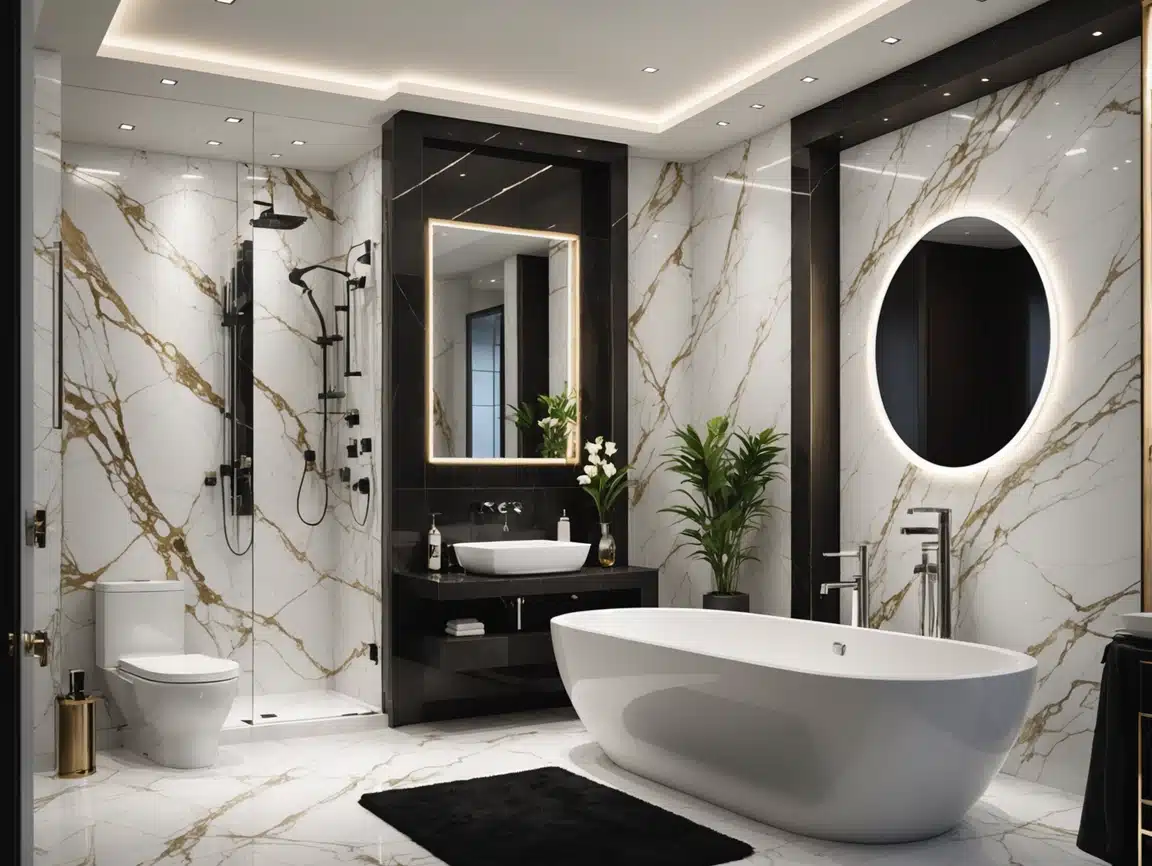
| Bathrooms | Double-seal edges • Use mold-resistant boards |
| Kitchens | Heat-resistant silicone behind stove |
| Outlets | Turn off power • Cut holes with hole saw |
| Concrete Walls | Apply primer first |
❌ 5 Deadly Mistakes to Avoid
- Skipping cleaning → Boards peel off
- Ignoring gaps → Boards buckle in heat
- Rushing alignment → Pattern mismatch
- Unsealed edges → Water damage
- Wrong adhesive → Boards slide down
💡 Pro Installation Hacks
- Hair dryer: Warm boards for better bending
- Soapy water spray: Reposition boards easily
- Laser level: Perfect horizontal lines
- Rolling pin: Remove air bubbles
🆚 Why Witop® UV Boards Win
| Feature | Regular Boards | Witop® |
|---|---|---|
| Stickiness | Weak glue | Industrial-strength adhesive |
| Cutting | Chips/cracks | Clean snap edges |
| Alignment | No guides | Printed grid lines |
| Warranty | Void if DIY | Covers DIY installs |
🆘 Troubleshooting Guide
| Problem | Fix |
|---|---|
| Boards peeling | Re-stick with construction adhesive |
| Bubbles | Pierce with needle → press flat |
| Gaps too wide | Fill with color-matched caulk |
| Pattern mismatch | Remove board → reposition |
🎁 Free Installation Kit
- Video Course: Step-by-step app access
- AR Tool: See cuts on your wall via phone
- Troubleshooting Guide
👉 Get Free Tools
[📞 Support: +86 188 6691 5562]
“Installed Witop® UV boards in my bathroom – looks pro after 2 years!”
– DIY Homeowner, Texas
UV Boards: DIY Made Simple
✅ No Special Skills 💧 Waterproof ⏱️ Fast Install
Before & After:
| Failed Install | Witop® Result |
|---|---|
| Peeling edges | Flawless finish |
| Uneven gaps | Perfect seams |
Success Path:
- Clean wall well
- Measure twice, cut once
- Peel slow, press hard
- Seal all edges
Witop® Guarantee:
- 15-year adhesion warranty
- Free replacements for install errors
- Phone support during your project
Works on: Drywall, tile, concrete, plywood • Heat-resistant to 250°F • Eco-friendly materials
Free samples
In recent years, composite products have become more and more popular all over the world. We believe you will also be interested in this new material. If you are interested, you can come to consult us. We have a professional service team that can not only answer any questions you may have but also provide you with free samples. Let you better understand the composite products. There is no doubt that composite wall panels will be the new future.
Share

James is a content creator and decorator with five years of experience designing home decor. In his daily life, james is constantly on the lookout for the latest, great examples of house design and further optimizes his solutions. Additionally, he writes articles related to outdoor design, interior design, and architectural decorating materials to help brands build more engaging relationships with their audiences.

