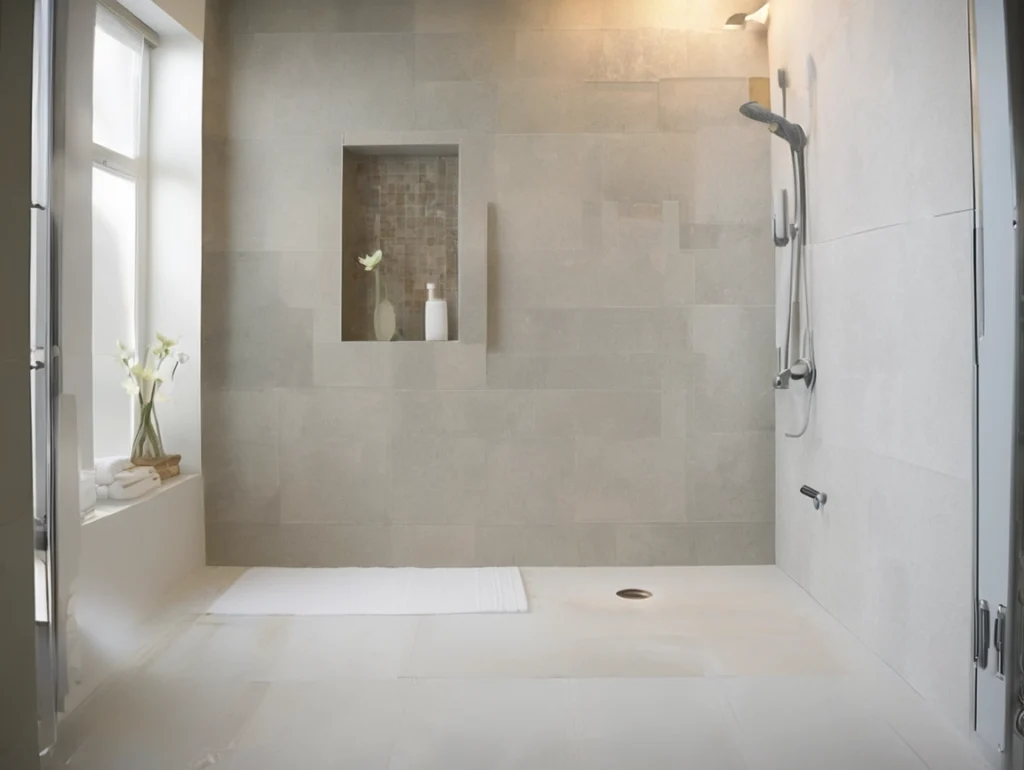
How to Install Shower Wall Panels: DIY Guide in 8 Simple Steps
Transform Your Shower in One Weekend – Professional Results Without the High Cost
⭐ 5 Reasons to Choose Shower Wall Panels
- 💰 Save Money – 60% cheaper than tile installation
- ⏰ Fast Installation – Complete in 1-2 days
- 💧 100% Waterproof – No grout lines means no leaks
- 🧼 Easy Cleaning – Just wipe with a damp cloth
- 🛠️ DIY Friendly – No special skills needed
📋 What You’ll Need
Tools Checklist:
- [ ] Tape measure and pencil
- [ ] Level (laser level recommended)
- [ ] Utility knife and cutting guide
- [ ] Notched trowel for adhesive
- [ ] Caulking gun
- [ ] Rubber roller or smoothing tool
- [ ] Safety glasses and gloves
Materials Checklist:
- [ ] Shower wall panels (add 10% extra)
- [ ] Waterproof panel adhesive
- [ ] 100% silicone sealant (color-matched)
- [ ] Panel trim and corner pieces
- [ ] Primer (if required by manufacturer)
🚿 Step-by-Step Installation Guide
Prepare Your Shower Area
- Remove Old Materials – Take out existing tiles or wallboard
- Check Wall Structure – Ensure it’s solid and stable
- Clean Thoroughly – Remove all dust, grease, and debris
- Repair Imperfections – Fill holes and smooth uneven areas
- Apply Primer – If recommended by panel manufacturer
Time: 2-3 hours
Plan Your Layout
- Measure Carefully – Height, width, and fixture locations
- Find Center Point – Start from the most visible wall
- Dry Fit Panels – Arrange without adhesive to check fit
- Mark Cutting Lines – Use pencil to indicate where to cut
- Plan Pattern Matching – Ensure designs align correctly
Pro Tip: Use painter’s tape to visualize the layout
Cut Panels to Size
- Measure Twice – Double-check all measurements
- Score and Snap – Use utility knife for straight cuts
- Cut Openings – For faucets, showerheads, and valves
- Sand Edges – Smooth any rough cuts
- Label Pieces – Keep organized for installation
Safety: Always wear safety glasses when cutting
Apply Adhesive
- Mix Adhesive – Follow manufacturer’s instructions
- Apply to Wall – Use notched trowel for even coverage
- Butter Panel Back – Spread thin layer on panel back
- Work in Sections – Apply adhesive to 1-2 panels at a time
- Check Coverage – Ensure complete adhesive coverage
Install First Panel
- Start at Bottom – Begin from shower floor or tub edge
- Press Firmly – Use even pressure across entire panel
- Check Level – Ensure perfect horizontal alignment
- Use Roller – Smooth from center to edges
- Wipe Excess – Immediately clean any squeezed-out adhesive
Continue Installation
- Work Outward – Install adjacent panels
- Maintain Even Gaps – Use spacers for consistent joints
- Check Alignment – Regularly verify level and plumb
- Stagger Joints – Avoid continuous vertical seams
- Cut as You Go – Custom-fit around obstacles
Install Trim and Corners
- Measure Trim – Cut to exact length needed
- Apply Sealant – Use color-matched silicone
- Press into Place – Ensure good contact
- Wipe Clean – Remove excess sealant immediately
- Install Corner Pieces – For professional finished look
Final Sealing
- Wait 24 Hours – Let adhesive fully set
- Apply Silicone – All joints and edges
- Smooth Bead – Use smoothing tool or wet finger
- Clean Excess – Before silicone skins over
- Cure Time – Wait recommended time before use
⏱️ Realistic Time Frame
| Task | Time Required | Tips |
|---|---|---|
| Preparation | 2-3 hours | Don’t rush this step |
| Layout Planning | 1 hour | Careful measuring saves time |
| Cutting Panels | 2-3 hours | Work in a well-ventilated area |
| Adhesive Application | 1 hour | Work in manageable sections |
| Panel Installation | 3-4 hours | Two people work faster |
| Finishing Touches | 1-2 hours | Attention to detail matters |
| Total Project Time | 10-14 hours | Spread over 1-2 days |
💰 Cost Comparison: DIY vs Professional
| Expense | DIY Installation | Professional Installation |
|---|---|---|
| Materials Cost | $400-600 | $400-600 |
| Labor Cost | $0 | $800-1,200 |
| Tools | $50-100 (if needed) | $0 |
| Total Cost | $450-700 | $1,200-1,800 |
You Save: $750-1,100 by doing it yourself!
⚠️ Common Mistakes to Avoid
Preparation Errors:
- ❌ Installing over damaged walls
- ❌ Skipping the cleaning step
- ❌ Not checking for level surface
- ❌ Rushing the layout planning
Installation Mistakes:
- ❌ Using wrong adhesive type
- ❌ Not applying enough adhesive
- ❌ Ignoring expansion gaps
- ❌ Poor silicone application
Finishing Errors:
- ❌ Using shower too soon
- ❌ Incomplete sealing
- ❌ Not cleaning adhesive promptly
- ❌ Skipping the final inspection
✅ Quick Checklist for Success
Before You Start:
- [ ] Walls are clean, dry, and structurally sound
- [ ] All materials and tools are on site
- [ ] You have help for large panels
- [ ] You’ve read manufacturer instructions
- [ ] You have proper ventilation
During Installation:
- [ ] Regularly check level and alignment
- [ ] Work from center outward
- [ ] Maintain consistent joint spacing
- [ ] Clean adhesive immediately
- [ ] Follow recommended cure times
After Installation:
- [ ] Wait 24 hours before sealing
- [ ] Allow full cure time before use
- [ ] Conduct water test
- [ ] Keep installation instructions
- [ ] Save extra panels for future repairs
🆘 Troubleshooting Common Issues
Panel Not Sticking
- Cause: Insufficient adhesive or dirty surface
- Fix: Remove panel, clean, reapply adhesive
Uneven Gaps
- Cause: Poor spacing during installation
- Fix: Use spacers for remaining panels
Adhesive Stains
- Cause: Not cleaned promptly
- Fix: Use recommended adhesive remover
Silicone Not Smooth
- Cause: Application technique or wrong product
- Fix: Remove and reapply with proper tool
🌟 Pro Tips for Best Results
- Work with a Partner – Large panels are easier with two people
- Maintain Consistent Temperature – Ideal: 65-75°F (18-24°C)
- Use Quality Materials – Don’t cheap out on adhesive and sealant
- Take Breaks – Rushing leads to mistakes
- Follow Instructions – Manufacturer knows their product best
DIY Shower Wall Panel Installation: Smart, Simple, Satisfying 💧 Waterproof 💰 Budget-Friendly 🛠️ Achievable Weekend Project Ready to Start? Remember:
- Proper preparation prevents problems
- Measure twice, cut once
- Quality materials make a difference
- Patience leads to professional results
Need help? Most manufacturers offer technical support – don’t hesitate to call!
Note: Always follow manufacturer’s specific instructions • Safety first – use proper protective equipment • Check local building codes • When in doubt, consult a professional
Free samples
In recent years, composite products have become more and more popular all over the world. We believe you will also be interested in this new material. If you are interested, you can come to consult us. We have a professional service team that can not only answer any questions you may have but also provide you with free samples. Let you better understand the composite products. There is no doubt that composite wall panels will be the new future.
Share

James is a content creator and decorator with five years of experience designing home decor. In his daily life, james is constantly on the lookout for the latest, great examples of house design and further optimizes his solutions. Additionally, he writes articles related to outdoor design, interior design, and architectural decorating materials to help brands build more engaging relationships with their audiences.