

Installation of WPC Fence

Why Choose WPC Fencing?
Before diving into installation, here’s why WPC stands out:
- Eco-Friendly: Made from 60–70% recycled wood fibers and plastics.
- Low Maintenance: No staining, sealing, or painting required.
- Weatherproof: Resists UV rays, moisture, and temperature extremes (-40°F to 176°F).
- Aesthetic Versatility: Available in wood-grain textures, matte finishes, and modern colors.
Tools & Materials Needed for WPC Fence Installation
Gather these essentials for a hassle-free setup:
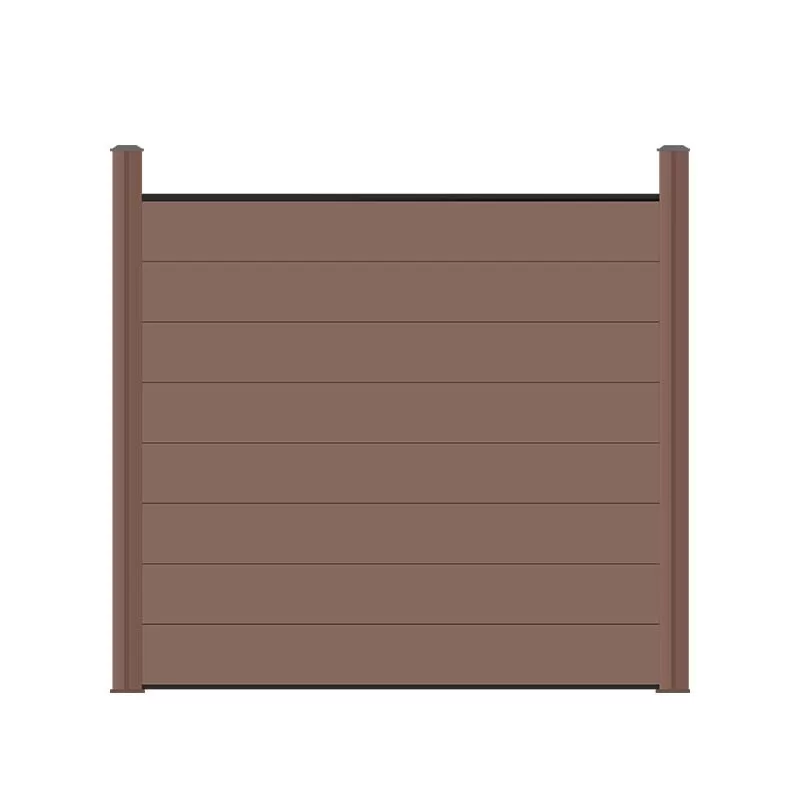
- WPC fence panels, posts, and rails (pre-assembled kits recommended).
- Post hole digger or auger.
- Concrete mix (optional, for permanent installations).
- Level, measuring tape, and rubber mallet.
- Screws and brackets (stainless steel or galvanized for rust resistance).
- Safety gear: Gloves, goggles, and a mask.
Step-by-Step Installation of WPC Fence
1. Plan and Mark the Layout
- Check Local Regulations: Obtain permits and confirm property lines.
- Measure the Area: Mark post locations every 6–8 feet for optimal support.
- Use Stakes and String: Outline the fence path to ensure alignment.
2. Install Fence Posts
- Dig Post Holes: Depth should be 1/3 the post height (e.g., 24″ for a 6-foot post).
- Set Posts: For permanent stability, fill holes with concrete. Use a level to ensure vertical alignment.
- Alternative Option: Use ground spikes or anchors for DIY-friendly, no-concrete installations.
3. Attach Rails and Panels
- Mount Horizontal Rails: Secure rails between posts using brackets.
- Snap in Panels: Most WPC panels feature interlocking grooves—align and gently tap with a rubber mallet.
- Check Level: Ensure panels are even before finalizing screws.
4. Add Finishing Touches
- Trim Excess: Cut panels with a saw for custom fits (use a fine-tooth blade).
- Install Post Caps: Enhance aesthetics and protect post tops from water.
- Clean Up: Wipe panels with a damp cloth to remove debris.
Pro Tips for a Flawless WPC Fence Installation
- Sloped Ground Solutions: Use rackable panels or step-down designs for uneven terrain.
- Gap for Expansion: Leave 1/4″ between panels to accommodate thermal expansion.
- Avoid Power Washing: Clean with mild soap and water to preserve the finish.
Why DIY WPC Fence Installation Saves Time and Money
- Speed: Pre-assembled panels cut installation time by 50% vs. traditional wood.
- Labor Costs: Complete a 100-foot fence in 8–12 hours with basic tools.
- Zero Maintenance: Save $1,500+ over 10 years on staining and repairs.

James is a content creator and decorator with five years of experience designing home decor. In his daily life, james is constantly on the lookout for the latest, great examples of house design and further optimizes his solutions. Additionally, he writes articles related to outdoor design, interior design, and architectural decorating materials to help brands build more engaging relationships with their audiences.


