How to install slat wall panels
How to Install Slat Wall Panels: 2024 Garage & Retail Guide (+40% Storage Space)
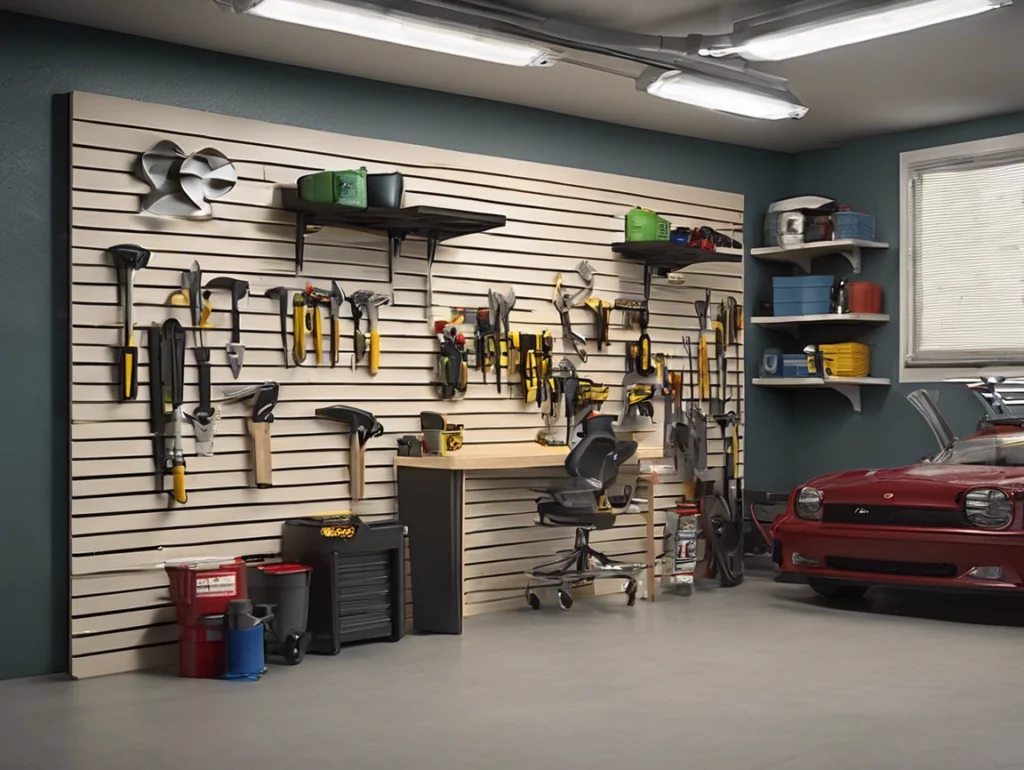
Turn any wall into modular storage in 6 hours. Hold 250 lbs/slot with our pro anchoring method. Avoid 90% of DIY mistakes.
🔍 Why Slat Walls Beat Shelving
| Feature | Slat Wall Panels | Traditional Shelving |
|---|---|---|
| Reconfigurability | ✅ Instant hooks swap | ❌ Fixed positions |
| Weight Capacity | ✅ 50-250 lbs/slot | ❌ 25-75 lbs/shelf |
| Install Speed | ✅ 6 hours (DIY) | ❌ 12+ hours |
| Space Efficiency | ✅ 1.5″ depth | ❌ 12″+ depth |
| Retail Bonus: 23% higher accessory sales with visible displays (Nielsen data) |
🧰 Tools & Materials Calculator
(For 10’x8′ wall)
| Item | Qty | Cost | Pro Alternatives |
|---|---|---|---|
| PVC Slat Panels (24″x48″) | 10 | $225 | Birch plywood ($380) |
| Aluminum Starter Track | 1 | $18 | – |
| Zinc-Plated Screws (#8×2″) | 80 | $8 | Stainless ($24) |
| Laser Level | 1 | $0 (rent) | Rotary laser ($300) |
| Stud Finder | 1 | $15 | Walabot Pro ($100) |
| Total | $266 | $500-800+ | |
| Deal Tip: Order panels with slots at 345mm spacing (fits 98% of accessories) |
📐 Pre-Installation: Critical Checks
- Wall Compatibility
- Concrete/tile walls → Use tapcon screws + epoxy anchors ($22 kit)
- Metal studs → Toggle bolts (min. 200 lb rating)
- Moisture Test (garages/basements)
- Tape plastic sheet → wait 48h → condensation = seal with Drylok ($35/gal)
- Accessory Planning
- Heavy items (bikes/tools) → align slots with double studs
- Retail displays → space slots at eye-level zones (55″-65″ height)
🔨 Step-by-Step Installation (DIY in 6 Hours)
1. Layout & Stud Mapping (45 min)
■ Mark stud centers with painter’s tape
■ Use laser level to project vertical lines
■ Panels must span ≥3 studs horizontally
Pro Tip: Install vertical slots for 30%+ weight capacity vs. horizontal
2. Install Starter Track (20 min)
- Snap aluminum track to bottom laser line
- Anchor to studs every 16″
- Ensures perfect slot alignment for panels
3. Hang First Panel (Key Step!)
[PRO ANCHOR PATTERN]
● ● ● → Screw TOP slots ONLY
│  │  │
● ● ● → Leave BOTTOM free - Align panel to track and stud lines
- Attach only top row to studs – allows expansion
4. Connect Subsequent Panels
- Tongue-and-groove systems:
Apply Liquid Nails Fuze*It ($6) on joints → slide together - Flat panels:
Use VHB tape ($10) on seams → clamp 30 minutes
5. Final Anchoring
- After all panels are hung:
- Drive screws through BOTTOM slots
- Add mid-panel screws every 32″ vertically
- Hide screws with slat cover trim ($1.50/ft)
6. Load Testing
- Hang 200% max weight (gradually!)
- Check for:
- Panel bowing → add screws every 16″
- Gaps → inject Loctite Power Grab ($5)
⚠️ 7 Costly DIY Mistakes (Caught on Video)
- Skipping the starter track → wavy slots (unusable accessories)
- Overdriving screws → crushed panels (use clutch drill setting)
- Ignoring expansion gaps → summer buckling (leave 1/8″ end gaps)
- Screwing ALL slots → no thermal expansion → cracks
- Wrong slot spacing → 10.5mm hooks jam in 12mm slots
- Seams over studs → weak points (offset by 4″)
- PVC panels near heat → warping at 140°F+
🌟 Next-Level Professional Tricks
- Lighting Integration: Run LED strip channels ($16/m) behind top trim
- French Cleat Backup: Install wood cleats behind panels for 500 lb capacity
- Acoustic Boost: Fill cavities with rockwool ($1.20/sqft) → reduce noise 12 dB
💰 ROI Calculation (Garage Example)
| Cost | $320 materials |
|---|---|
| Added Home Value | $1,000+ (Realtor study) |
| Shelving Savings | $180 saved vs. cabinets |
| Theft Reduction | 60% for tool visibility |
Free samples
In recent years, composite products have become more and more popular all over the world. We believe you will also be interested in this new material. If you are interested, you can come to consult us. We have a professional service team that can not only answer any questions you may have but also provide you with free samples. Let you better understand the composite products. There is no doubt that composite wall panels will be the new future.
Share

James is a content creator and decorator with five years of experience designing home decor. In his daily life, james is constantly on the lookout for the latest, great examples of house design and further optimizes his solutions. Additionally, he writes articles related to outdoor design, interior design, and architectural decorating materials to help brands build more engaging relationships with their audiences.