How to install wpc wall panels
How to Install WPC Wall Panels: Step-by-Step Guide (2024)
DIY-Friendly • No Grout/Tools • Lasts 25+ Years
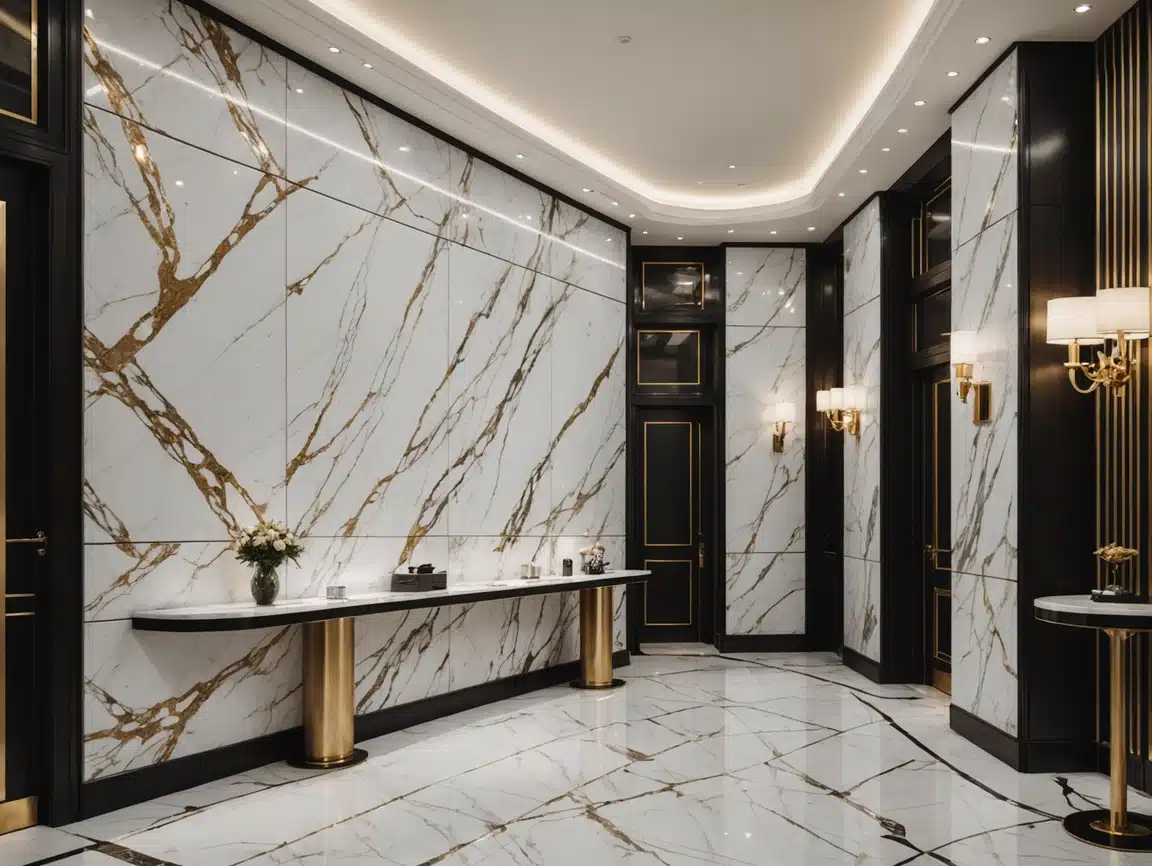
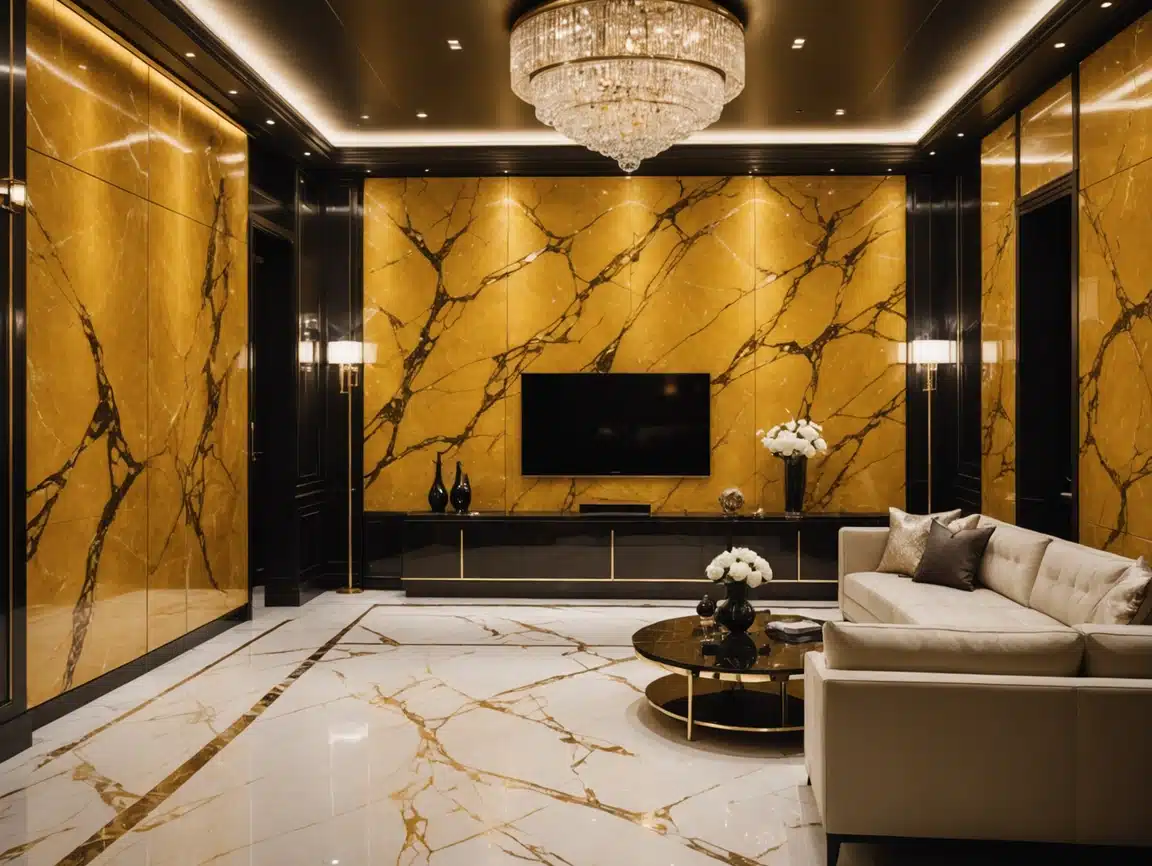
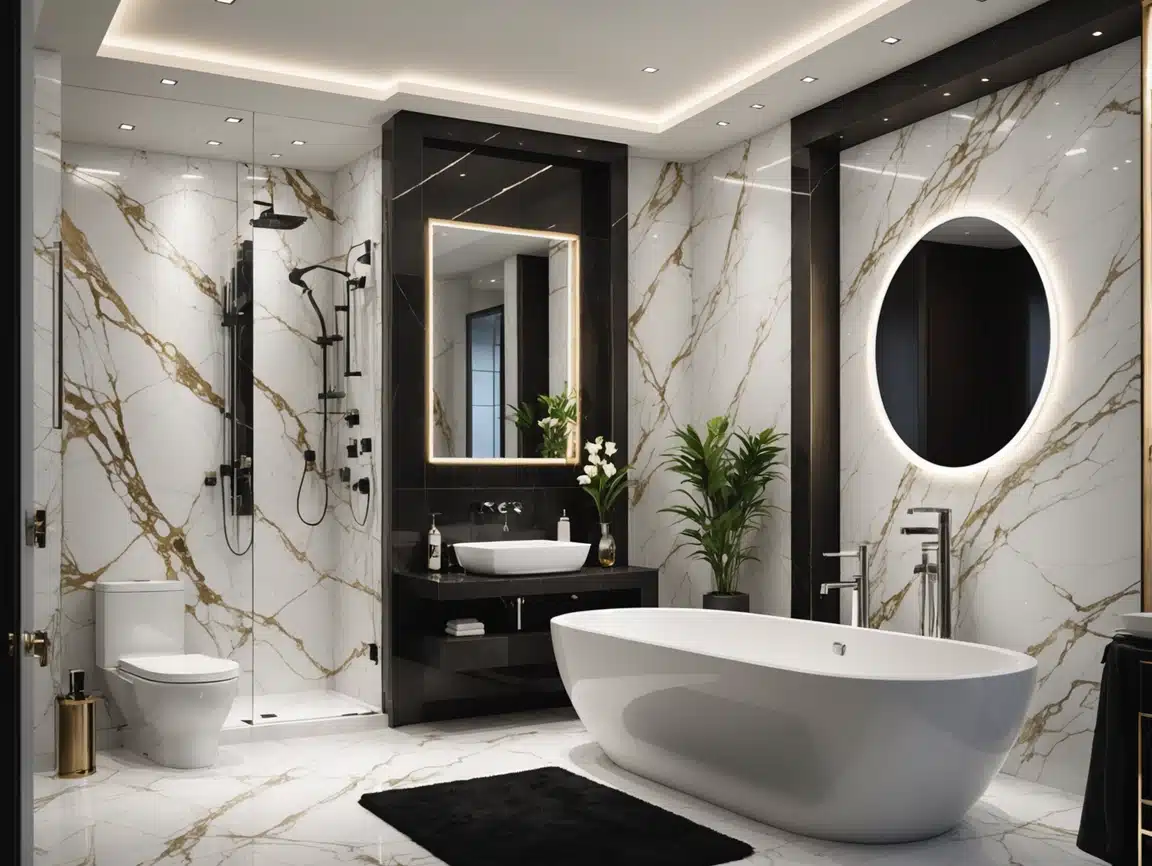
✅ WPC Wall Panel Advantages
| Feature | Benefit |
|---|---|
| Waterproof Core | Safe for bathrooms/kitchens |
| ClipLock System | No nails/screws → seamless install |
| Eco-Friendly | 60-80% recycled materials |
| Zero Maintenance | Wipe clean → no repainting |
⏱️ Time Saver: Install 100 sq.ft in 3 hours (vs. 2 days for tile).
🧰 Tools & Materials Needed
Essential Tools:
- Level • Tape measure • Utility knife • Rubber mallet
- Laser level (optional but recommended)
Witop Kit Includes:
- WPC panels (order 10% extra for cuts)
- ClipLock tracks & connectors
- End caps & corner trim
- Silicone sealant (color-matched)
Visual guide: Tools for perfect WPC installation
📐 Step-by-Step Installation
1. Wall Preparation
- Clean: Degrease with TSP solution → rinse/dry
- Repair: Fill cracks >1/8″ with spackle
- Check Level: Max 3mm deviation per 3m
⚠️ Critical: Skip this → panels won’t lie flat!
2. Install ClipLock Tracks
1. Snap tracks vertically every 16" (mark studs first)
2. Secure with included screws
3. Check alignment with laser level 3. Cut Panels to Size
- Measure: Mark cut lines on panel back
- Straight Cuts: Score with knife → snap along edge
- Outlets: Drill pilot holes → cut with jigsaw
4. Snap Panels Into Tracks
1. Start at corner → insert panel tongue into track
2. Tilt at 30° → press until "click"
3. Tap gently with rubber mallet to seat fully
4. Stagger seams (brick pattern) 5. Finish Edges & Seal
- Corners: Install color-matched trim pieces
- Gaps: Apply silicone sealant at:
- Ceiling/floor joints
- Around windows/doors
- Wipe: Clean excess sealant with damp cloth
⚠️ 5 Common Mistakes
- Ignoring Expansion Gaps:
→ Leave 1/8″ at room perimeters - Forcing Misaligned Panels:
→ Trim edges with utility knife - Cutting Panel Fronts:
→ Always cut from the back! - Humid Conditions:
→ Install when RH < 60% - Skipping Sealant:
→ Prevents moisture ingress
🔧 Troubleshooting Tips
| Issue | Fix |
|---|---|
| Panel won’t snap in | Check track for debris → lubricate with silicone spray |
| Visible seam gap | Use color-matched wax filler stick |
| Warped panel | Store flat 48h before install |
| Uneven wall surface | Use Witop Leveling Strips ($15/pack) |
💰 Cost Comparison (10×12 ft Wall)
| Method | Material Cost | Labor | Total |
|---|---|---|---|
| Witop WPC | $380 | $0 (DIY) | $380 |
| Ceramic Tile | $420 | $720 | $1,140 |
| Drywall+Paint | $210 | $450 | $660 |
❓ Top Installation Questions
Can I install over existing tile?
✅ Yes! Use Witop’s LevelBond adhesive → fills grout lines.
How to install around outlets?
✅ Cut panel 1/8″ larger than outlet → use decorative cover plate.
Best for basement walls?
✅ Perfect! Waterproof core prevents mold → no vapor barrier needed.
“Installed Witop panels in my bathroom – zero leaks after 3 years!”
– Mike R., Verified Buyer
🏆 Why Professionals Choose Witop
- 📏 Pre-Cut Service: Send measurements → get perfect-fit panels
- 🔒 25-Year Warranty: Against warping, moisture, fading
- 🛠️ 24/7 Support: Video calls with install experts
- 📦 Fast Shipping: Delivery in 3-5 days (US/EU warehouses)
Upgrade your walls in hours – not days! 🛠️🏠
Free samples
In recent years, composite products have become more and more popular all over the world. We believe you will also be interested in this new material. If you are interested, you can come to consult us. We have a professional service team that can not only answer any questions you may have but also provide you with free samples. Let you better understand the composite products. There is no doubt that composite wall panels will be the new future.
Share

James is a content creator and decorator with five years of experience designing home decor. In his daily life, james is constantly on the lookout for the latest, great examples of house design and further optimizes his solutions. Additionally, he writes articles related to outdoor design, interior design, and architectural decorating materials to help brands build more engaging relationships with their audiences.