How to Panel a Bathroom Wall
🛁 How to Panel a Bathroom Wall: Step-by-Step Guide (2024)
(Moisture-Proof • Mold-Resistant • DIY-Friendly with Witop Panels)
✅ Why Panel (Not Tile) Your Bathroom?
| Benefit | Witop Panels Advantage | Traditional Tile |
|---|---|---|
| Install Speed | 80% faster (no grout/dry time) | 3-7 day curing |
| Waterproofing | Seamless surface • No leaky grout lines | Grout absorbs moisture |
| Maintenance | Wipe clean • No resealing | Yearly regrouting |
| Cost (10-yr) | 8−15/sq.ft all-in | 25−40+/sq.ft |
💧 Real Test: Witop WPC panels show zero mold after 500+ steam cycles (SGS Certified).
🧰 Tools & Materials Checklist
Essential Tools:
- Laser level • Notched trowel • Jigsaw • Caulk gun • Safety goggles
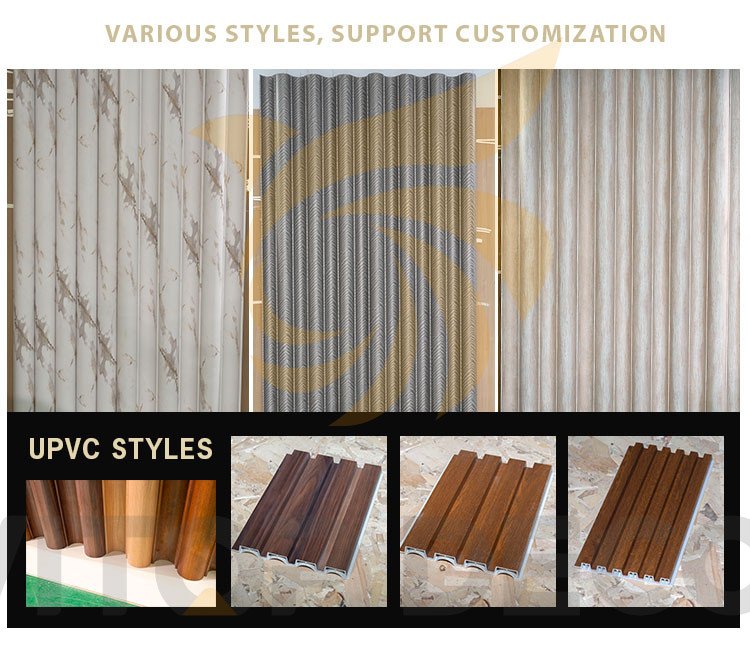
Witop Materials (Choose Based on Style):
| Panel Type | Best For | Waterproof Rating |
|———————–|—————————|————————|
| WPC Wall Panels | Full shower surrounds | IP68 (submersion-proof)|
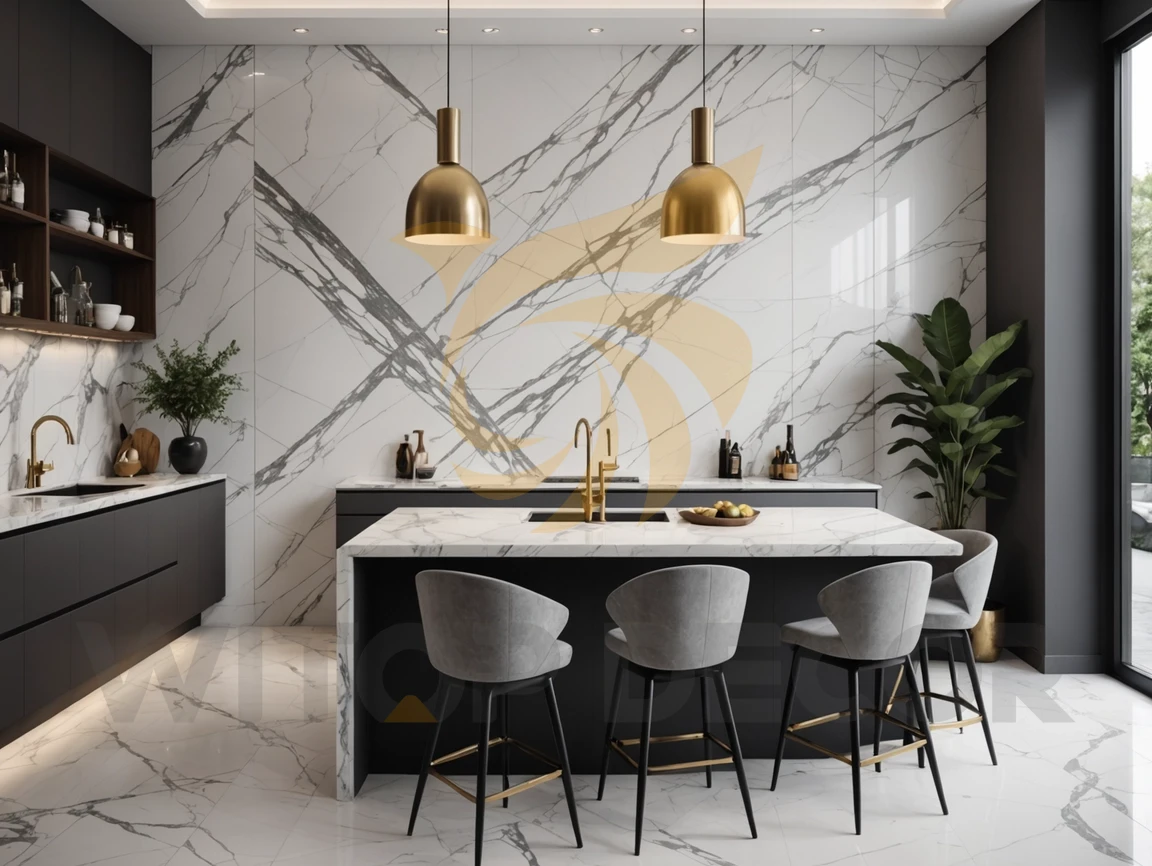
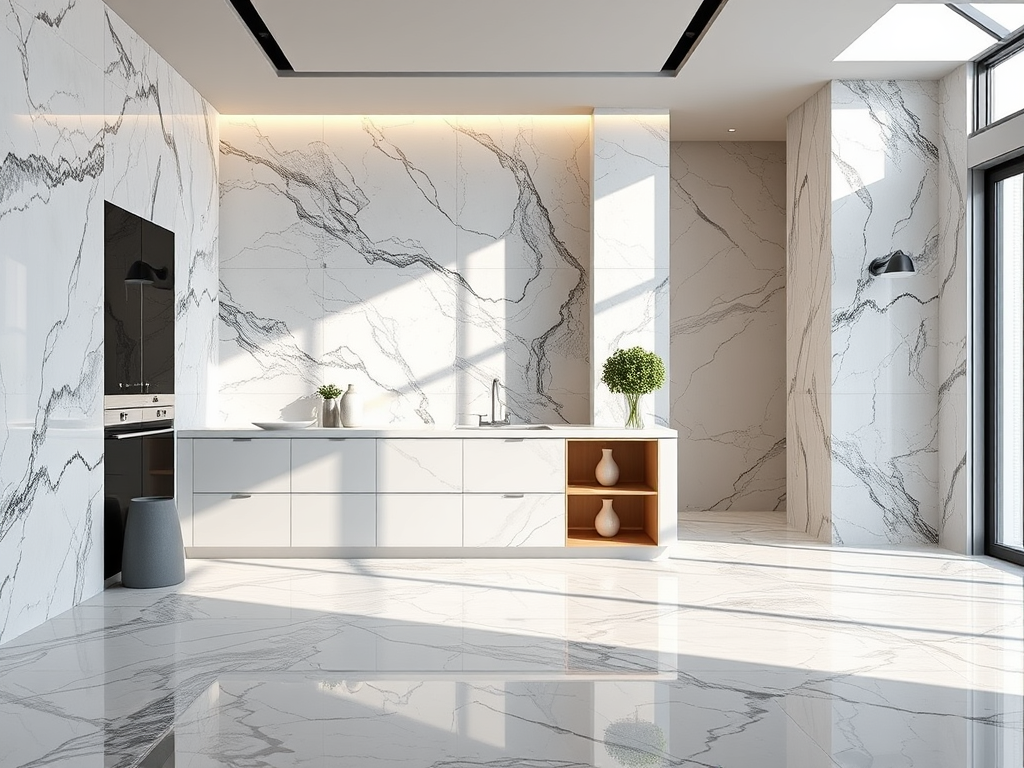
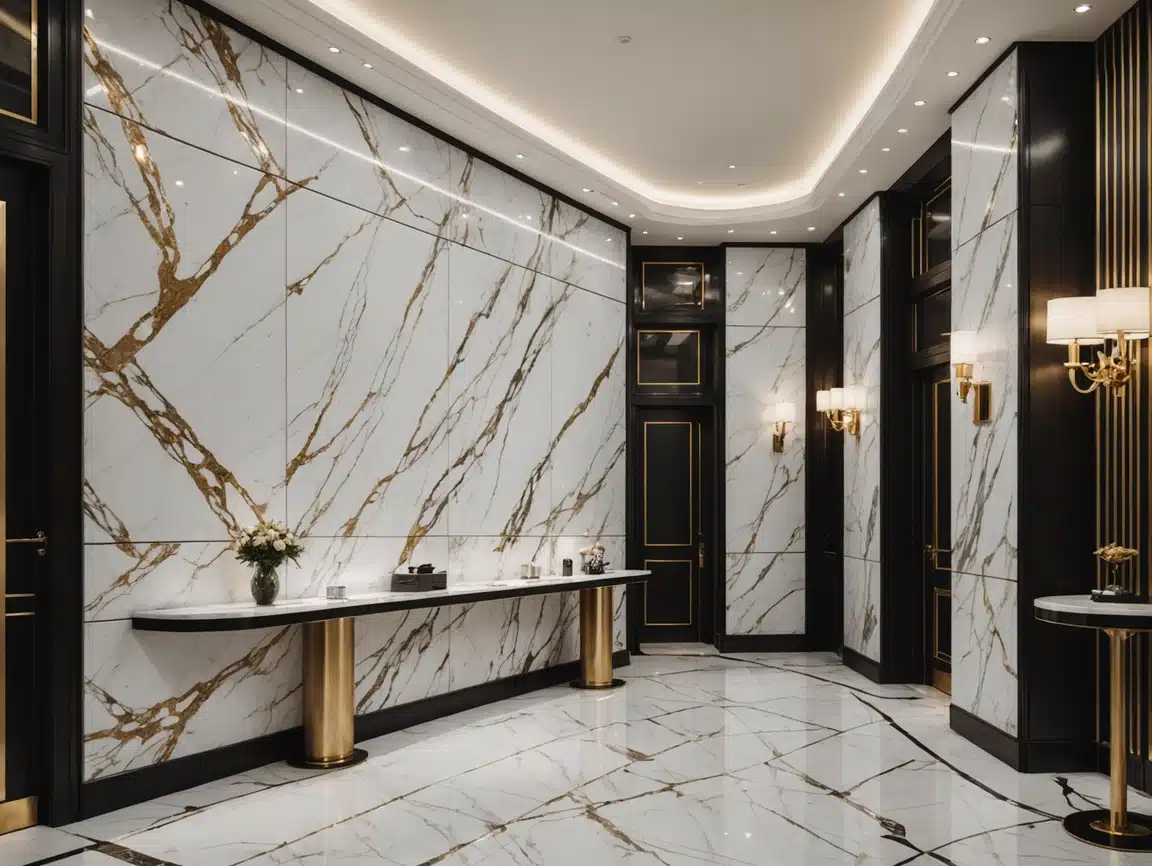
| PVC Marble Sheets | Luxury backsplashes | Anti-stain coating |
| Bamboo Charcoal | Humidity control walls | Natural anti-mold |
| 3D Wall Panels | Accent feature walls | Easy-clean texture |
Buy 10% extra for cuts/waste • Critical: 100% silicone sealant (Witop UltraSeal™)
🔧 Step-by-Step Installation Guide
1. Wall Prep (The Foundation)
- Remove old tiles/loose paint • Fill cracks with cement putty
- Apply waterproof membrane (mandatory behind showers)
- Pro Tip: Use Witop’s Leveling Strips if wall unevenness >3mm
2. Layout Planning
- Mark stud locations • Avoid aligning joints with plumbing
- Dry-fit panels → Adjust for outlets/pipes
- Pattern Tip: Run panels vertically → height illusion in small baths
3. Cutting Openings
- Measure outlets/valves → Add 1/8″ gap
- Use jigsaw with fine-tooth blade for WPC/PVC
- Safety: Wear N95 mask when cutting
4. Adhesive Application
- Apply construction adhesive (Witop GripMax™) with notched trowel
- Pattern: Vertical lines (improves bond)
- Work in 3×4 ft sections → panels slide into place
5. Panel Installation
1. **Start at corner:** Press firmly into adhesive
2. **Use spacers:** Maintain 1/8" gap at floor/ceiling
3. **Check level:** Every 3rd panel
4. **Secure edges:** Brad nails at top/bottom (hidden under trim) 6. Sealing & Trims
- Apply 100% silicone at:
- All corners
- Panel-to-fixture joints
- Floor/ceiling transitions
- Install Witop SnapTrim™ covers (hides edges + expansion gaps)
⚠️ 5 Critical Mistakes to Avoid
- Skipping waterproof membrane → Causes wall rot
- Butting panels tight → Leave 1/8″ gaps for expansion
- Wrong adhesive → Use only panel-rated construction glue
- Sealing before 24 hrs → Let adhesive fully cure
- Ignoring vent fans → Moisture buildup = mold risk
💰 Cost Breakdown (10×8 ft Bathroom)
| Item | Cost (DIY) | Notes |
|---|---|---|
| Witop WPC Panels | $620 | Oak wood-look |
| Adhesive & Sealants | $85 | GripMax™ + UltraSeal™ |
| Tools Rental | $65 | Laser level + jigsaw |
| Total | $770 | vs. $2,400+ for tile |
🌿 Maintenance Made Easy
- Weekly: Wipe with damp cloth • Avoid abrasive cleaners
- Monthly: Inspect sealant lines → recaulk if lifting
- Yearly: Apply Witop PanelShine™ for UV protection (sun-facing walls)
✅ Witop Panels Warranty: 15 years against water damage/fading
❓ Top DIY Questions
Can I install over existing tiles?
✅ Yes! Use Witop Leveling Adhesive → fills grout lines
Best panels behind toilets?
✅ PVC Marble Sheets → seamless wipe-down surface
How to handle steam rooms?
✅ Use Witop WPC panels + double-seal all edges
[📥 Download Witop’s Free Bathroom Layout Planner]
“Installed WPC panels in my rental bathroom – landlord approved, and cleanup takes 2 minutes!”
– Mark, DIY Homeowner
Free samples
In recent years, composite products have become more and more popular all over the world. We believe you will also be interested in this new material. If you are interested, you can come to consult us. We have a professional service team that can not only answer any questions you may have but also provide you with free samples. Let you better understand the composite products. There is no doubt that composite wall panels will be the new future.
Share

James is a content creator and decorator with five years of experience designing home decor. In his daily life, james is constantly on the lookout for the latest, great examples of house design and further optimizes his solutions. Additionally, he writes articles related to outdoor design, interior design, and architectural decorating materials to help brands build more engaging relationships with their audiences.