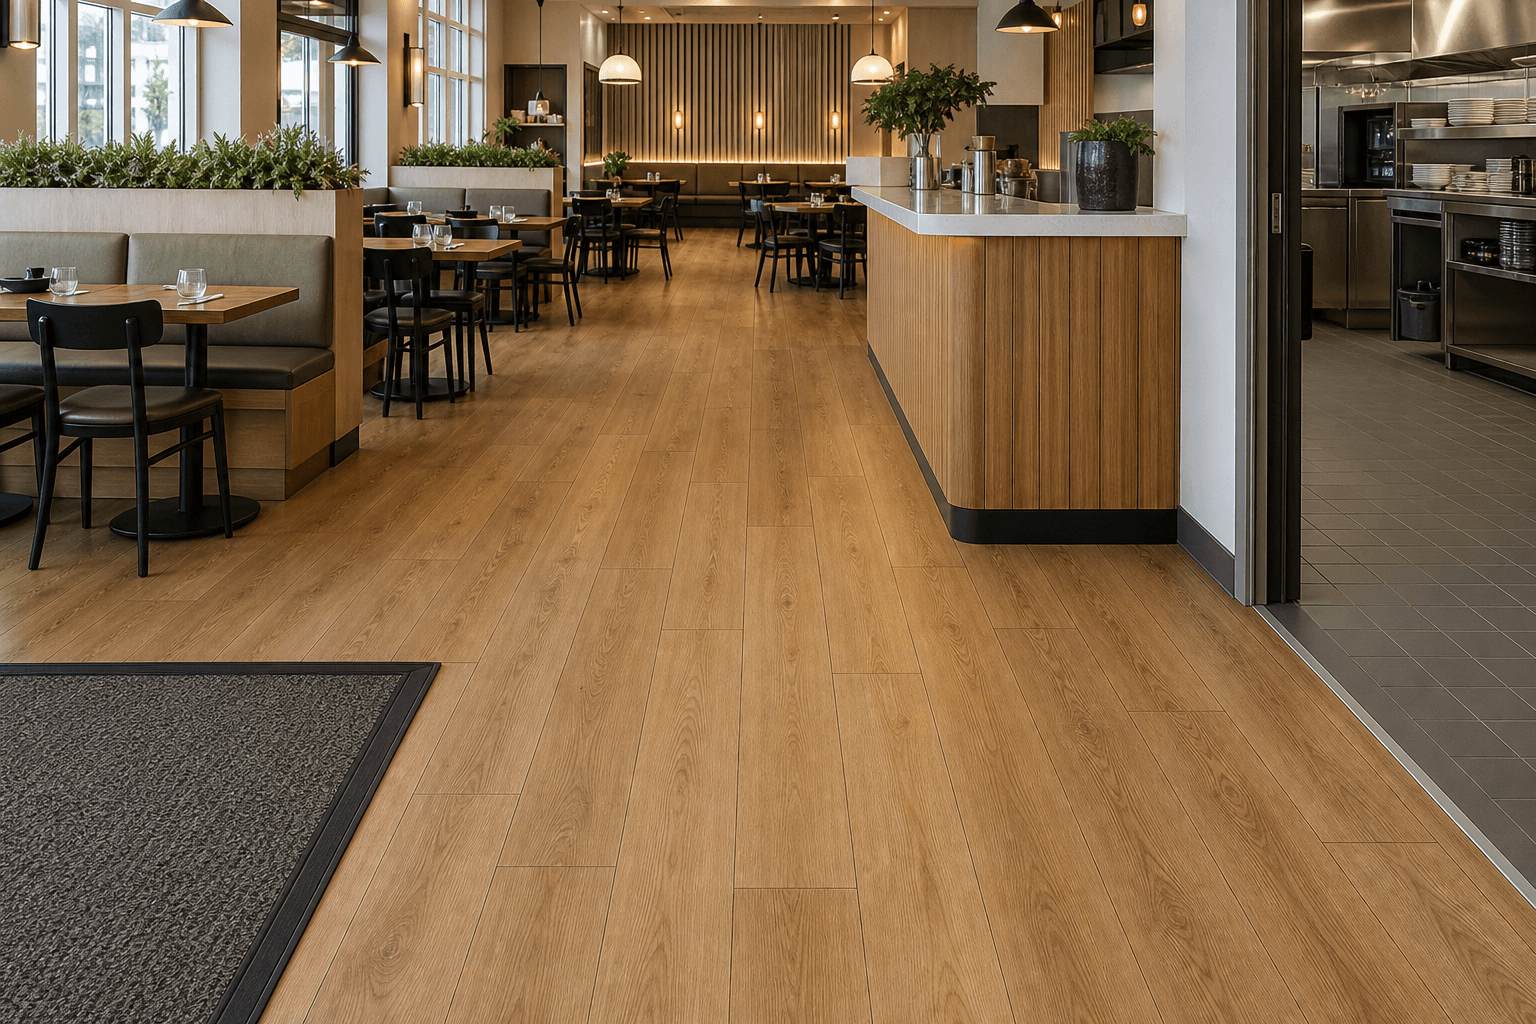
SPC Flooring Installation Quick Simple and Efficient
SPC (Stone Plastic Composite) flooring isn’t just durable and waterproof—it’s also one of the easiest floors to install yourself. With click-lock designs and no messy glue, you can transform a room in a day. Here’s how to install SPC flooring quickly, save money, and avoid common mistakes.
Key Takeaways
- No Special Skills Needed: DIY-friendly click-lock system.
- Tools You’ll Need: Utility knife, tapping block, spacers.
- Time per Room: 4–8 hours (for a 200 sq. ft. space).
- Cost Savings: 500–1,500 vs. hiring a pro.
Why SPC Flooring Is So Easy to Install
- Click-Lock System: Planks snap together without glue or nails.
- No Mortar or Grout: Unlike tile, no drying time or messy cleanup.
- Floating Floor: Installs over most existing floors (tile, wood, concrete).
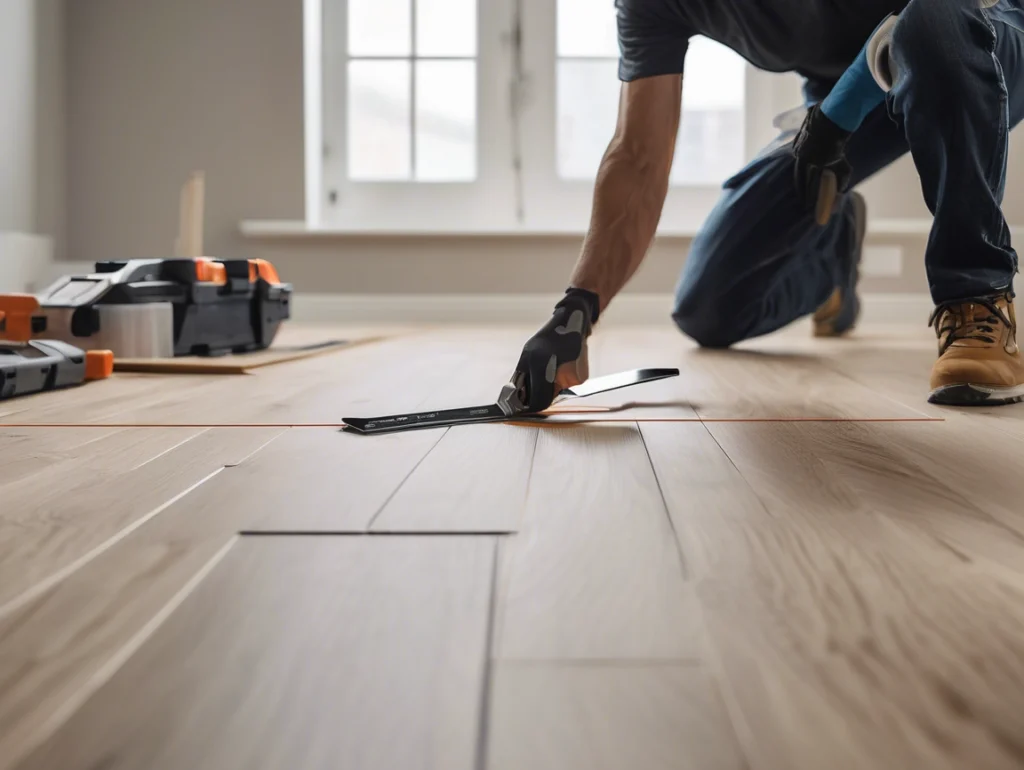
- Easy Cuts: Score and snap with a utility knife (no saw needed).
Tools & Materials Checklist
| Item | Purpose | Cost |
|---|---|---|
| SPC Planks | Flooring material | 2–5 per sq. ft. |
| Underlayment | Reduces noise, smoothens surface | 0.20–0.50 per sq. ft. |
| Utility Knife | Cutting planks | 5–15 |
| Tapping Block | Secures planks tightly | 10–20 |
| Spacers | Gaps for floor expansion | 5–10 |
| Rubber Mallet | Gently locks planks | 15–25 |
Step-by-Step Installation Guide
1. Prep the Floor
- Clean: Sweep/vacuum debris.
- Check for Flatness: Use a level; fill gaps >3mm with floor patch.
- Lay Underlayment: Trim to fit; tape seams (if needed).
2. Plan the Layout
- Dry Fit: Lay planks without clicking to check spacing.
- Start Straight: Align first row with the longest wall.
- Use Spacers: Leave 1/4” gaps along walls for expansion.
3. Install the Planks
- First Row: Place planks groove-side toward the wall.
- Click Together: Angle plank’s tongue into the groove, then press down.
- Tap Gently: Use a mallet + tapping block to close gaps.
- Stagger Joints: Start each row with a cut plank (min. 6” stagger).
4. Cut Around Obstacles
- Mark: Trace pipes, corners, or vents on planks.
- Score: Cut with a utility knife or jigsaw.
5. Final Touches
- Remove Spacers: After last row is laid.
- Install Trim: Cover gaps with baseboards or quarter-round.
Common Mistakes to Avoid
- Skipping Underlayment: Causes noise and uneven floors.
- Ignoring Expansion Gaps: Leads to buckling in heat/humidity.
- Forcing Planks: Damages click-lock edges.
Cost Breakdown for 200 Sq. Ft. Room
| Item | Cost |
|---|---|
| SPC Planks | 400–1,000 |
| Underlayment | 40–100 |
| Tools | 30–70 (if buying) |
| Total | 470–1,170 |
Why Hire a Pro?
While DIY saves money, consider pros for:
- Large/Complex Spaces: Stairs, uneven floors, or open-plan areas.
- Time Savings: Pros can finish a room in 2–4 hours.
Pro Tip: Buy 10% extra planks for cuts/waste.
Conclusion: Transform Floors in a Day
SPC flooring installation is fast, simple, and perfect for DIYers. With basic tools and our step-by-step guide, you can upgrade your home’s look in a weekend—no experience needed!
Ready to start? Order free samples or find local installers!
Free samples
In recent years, composite products have become more and more popular all over the world. We believe you will also be interested in this new material. If you are interested, you can come to consult us. We have a professional service team that can not only answer any questions you may have but also provide you with free samples. Let you better understand the composite products. There is no doubt that composite wall panels will be the new future.
Share

James is a content creator and decorator with five years of experience designing home decor. In his daily life, james is constantly on the lookout for the latest, great examples of house design and further optimizes his solutions. Additionally, he writes articles related to outdoor design, interior design, and architectural decorating materials to help brands build more engaging relationships with their audiences.