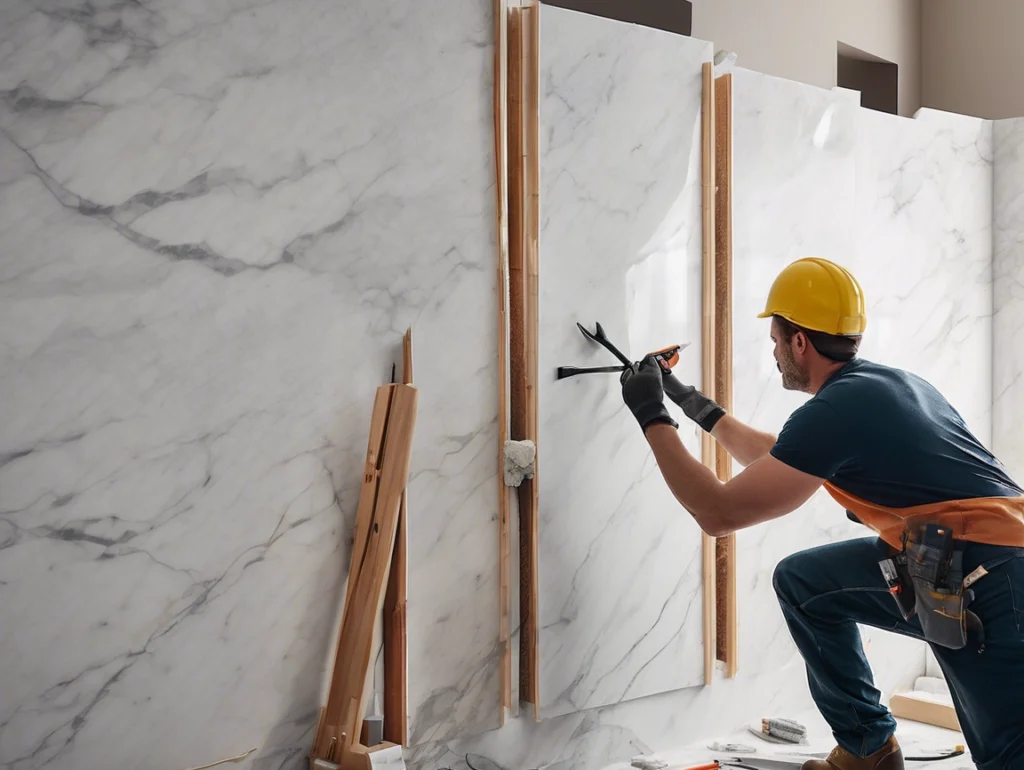
How to remove marble shower wall panels
Save thousands by safely removing panels for reuse or replacement – DIY in 4 hours!
🛠️ Removal Toolkit Checklist
| Tool | Purpose | DIY Alternative |
|---|---|---|
| Panel Removal Suction Cups | Grip large slabs | Plumber’s helper (modified) |
| Oscillating Multi-Tool | Cut adhesive bonds | Putty knife + hammer |
| Heat Gun | Soften silicone | Hair dryer (high setting) |
| Pry Bar Kit | Gentle leverage | Wooden shim + crowbar |
| Adhesive Remover | Dissolve residue | Vinegar + baking soda paste |
“Removed 45 Witop® panels intact for client relocation – saved $8,200 in replacement costs!”
– Samir T., Dubai Bathroom Renovator
⚠️ Critical Safety Prep
- Shut Off Systems:
- Water supply
- Electrical circuits (if near lights)
- Protect Surfaces:
- Cover drain with mesh filter
- Lay moving blankets on floor
- Gear Up:
- Safety goggles
- Cut-resistant gloves
- Knee pads
🔧 5-Step Removal Process
Break the Seal
- For Silicone Adhesive:removal复制
1. Heat edge with gun (150°F/65°C) 2. Slide guitar string behind panel 3. "Saw" top-to-bottom - For Epoxy/Mortar:
- Score perimeter with oscillating tool
- Use Witop® Adhesive Release Spray (bio-based solvent)
Release Panel Sections
- Tool Technique:
- Place suction cups at 1/3 and 2/3 height
- Apply steady pressure (DO NOT jerk)
- Insert pry wedge when 1/4″ gap appears
Full Detachment
- When Panel Moves:
- Support bottom edge with 2×4 brace
- Have helper hold opposite side
- Lower slowly onto padded cart
Adhesive Cleanup
| Adhesive Type | Removal Method |
|---|---|
| Silicone | Plastic scraper + citrus cleaner |
| Epoxy | Heat gun + putty knife |
| Mortar | Hammer/chisel at 15° angle |
Wall Repair Prep
- Inspect substrate:
- Fill gouges with cement patch
- Sand uneven areas (60-80 grit)
- Degrease: TSP wash → rinse → dry 24h
💰 Cost-Saving Reuse Tips
Salvage Checklist:
- ✅ No corner cracks
- ✅ Backing intact (≥85% adhesive residue-free)
- ✅ Edge grooves undamaged
Storage Protocol: - Stack vertically on A-frame rack
- Separate with foam sheets
- Avoid direct sunlight
❌ 5 Removal Disasters to Avoid
- Hammering panel face → $1,200 breakage
- Ignoring weep holes → Water damage behind walls
- Pulling from center → Snap risk ↑ 300%
- Skipping heat on silicone → Tearing fiberglass backing
- Using metal tools without tape → Scratch UV coating
✅ Witop® Panel Removal Service
| Option | Time | Cost (10m²) | Guarantee |
|---|---|---|---|
| DIY Kit Rental | 1 day | $85 | Tool insurance |
| Pro Removal | 3 hrs | $490 | No-break promise |
| Full Refurb Service | 2 days | $950 | Like-new finish |
>> Download Removal Templates
📊 Damage Risk Assessment
removal Material:
Thin UV Marble (3-5mm) → High risk
Cultured Marble (12mm+) → Medium risk
WPC-backed Panels → Lowest risk

Adhesive:
Silicone → Safest removal
Epoxy → Moderate risk
Mortar → High break risk
Post-Removal Action Plan:
- Immediate: Seal exposed walls with waterproofing
- 24h Later: Test wall flatness (≤3mm variance)
- 48h Later: Ready for new installation
Free samples
In recent years, composite products have become more and more popular all over the world. We believe you will also be interested in this new material. If you are interested, you can come to consult us. We have a professional service team that can not only answer any questions you may have but also provide you with free samples. Let you better understand the composite products. There is no doubt that composite wall panels will be the new future.
Share

James is a content creator and decorator with five years of experience designing home decor. In his daily life, james is constantly on the lookout for the latest, great examples of house design and further optimizes his solutions. Additionally, he writes articles related to outdoor design, interior design, and architectural decorating materials to help brands build more engaging relationships with their audiences.