How to install pvc bathroom wall panels
🧰 Tools You Need
| Key Supplies | Prep & Safety | Finishing Touches |
|---|---|---|
| • PVC wall panels | ||
| • Strong liquid glue (solvent-based acrylic) | ||
| • Notched spreader tool | • 4-foot level | |
| • Sharp cutting knife + extra blades | ||
| • Jigsaw | ||
| • Caulk gun | • Moisture tester | |
| • Leveling wedges | ||
| • Safety goggles | ||
| • PVC corner trim |
⏱️ Time Needed: 10×8 ft shower area = 6-8 hours
📋 Before You Start
Check these to avoid problems:
- Wall Flatness:
- Lay a 6-foot level on the wall
- Gaps bigger than a dime? → Fill with quick-setting filler
- Moisture Check:
- Use a moisture tester on walls
- Reading over 18%? → Add a waterproof barrier layer
- Wall Prep:Wall TypeAction NeededDrywallSeal with stain-blocking primerConcretePaint with liquid waterproof coatExisting tileScrape off bumpy grout linesOld plasterFix cracks with fast-dry cement
📐 Step-by-Step Install Guide
✅ Step 1: Measure Your Space
Use this simple math:
Panel Count = (Wall Width × Wall Height) ÷ Single Panel Size + Extra for Errors
- Example: 8ft wide × 5ft high wall = 40 sq.ft
- One panel: 2ft x 8ft = 16 sq.ft
- 40 ÷ 16 = 2.5 → Buy 3 panels
- Add extras: 3 × 1.15 = 4 panels total
💡 Smart Tip: Buy matching PVC corner pieces for neat edges!
✅ Step 2: Cut Panels Correctly
See our Easy PVC Cutting Guide for details
Key Cuts for Bathrooms:
- For Faucets/Pipes:
- Trace fixture shape onto cardboard
- Copy shape onto panel back
- Drill starter holes → cut with jigsaw (use down-cut blade)
- Sloped Ceilings:
- Hold panel in place
- Mark angle using angle tool
- Cut with circular saw (turn blade upside down for smooth edge)
✅ **Step 3: Add Moisture Protection
(SKIP THIS = MOLD RISK!)
Best Methods:
- Over Drywall:
- Hang thick plastic sheeting (6 mil)
- Overlap edges 6″ → seal with waterproof tape
- Over Concrete:
- Paint on rubbery waterproof coating (like RedGard)
- Add 2 coats with tape at corners
- Shower Areas:
- Add cement board before waterproofing
✅ Step 4: Apply Glue
Bathroom-Specific Tips:
- Use strong liquid glue (like Wedi Joint Glue)
- Spread with notched tool:
- Vertical lines: 12 inches apart
- Border: Continuous line
- Warning: Keep glue away from edges!
🌡️ Temp Alert: Glue won’t stick well below 50°F → Warm room first
✅ Step 5: Hang Panels Right
For Perfect Fit:
- Start at inside corner (usually shower end)
- Press first panel firmly with rubber hammer
- Check level often → use wedges to adjust
- Leave small space between panels
- Install ceiling panels last
- Press Firmly:
- Press center → push out to edges
- Roll diagonally with a roller
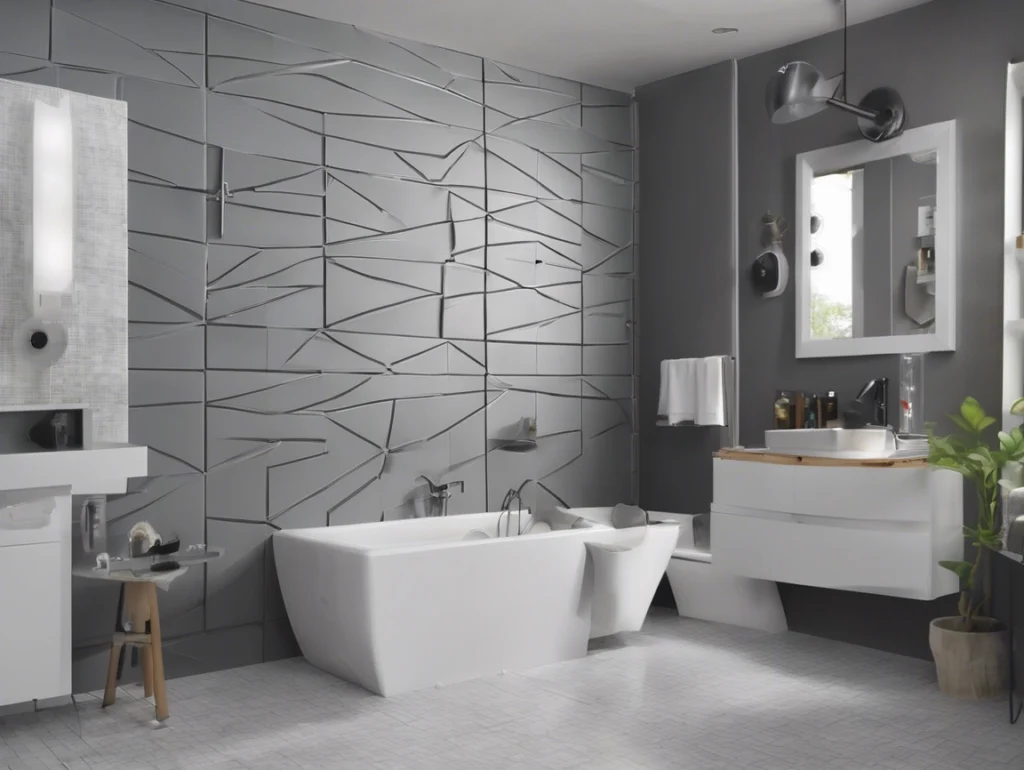
✅ Step 6: Seal & Finish
Stop Mold:
- Seal Joints:
- Use mold-blocking silicone
- Shape into smooth curve
- Add Trim:
- Inside corners: Use L-shape trim
- Outside corners: Overlap trim
- Floor edge: Angled baseboard trim
- Caulk Guide:LocationProductPanel jointsPVC-specific siliconeTub/wall meetAnti-mold siliconePipe holesSpecial waterproof sealant
⚠️ 7 Common Bathroom Mistakes
- Forgetting space gaps → Panels warp in steam
- Fix: Leave gap at ceiling/floor
- Sealing too soon → Water trapped behind
- Fix: Wait 2 days after install
- Panels touching tub → Water creeps up
- Fix: Leave small space → fill with caulk
- Blocking air vents → Mold grows
- Fix: Cut around exhaust fans
- Skipping surface prep → Panels fall
- Fix: Rough up shiny surfaces
- No plumbing access → Costly repairs
- Fix: Add small removable panel
- Wrong glue → Peeling in humidity
- Fix: NEVER use basic building glue!
💰 Cost Snapshot (5×8 ft Shower)
| Part | DIY Cost | Pro Cost |
|---|---|---|
| Panels | 350−500 | $700+ |
| Glue/Sealant | $75 | $150 |
| Trim Kit | $60 | $120 |
| Water Barrier | $40 | $90 |
| Total | 525−675 | $1,060+ |
🔥 Deal Alert: Witop Complete Bath Kit = **599∗∗(Saves200) → See Kit
❓ FAQ: Bathroom Concerns
How to install pvc bathroom wall panels?
Can I cover old shower tile?
✅ Yes! Use special glue + add thin cement board first.
Uneven walls?
✅ Place foam wedges → glue stays flexible.
Best panels for steam rooms?
✅ Get thick solid PVC panels ≥8mm with grooved edges.
Prevent soap stains?
✅ Pick matte-finish panels → hides water spots.
⭐ Real DIY Success:
“Used Witop’s kit in my rental bathroom – zero leaks after 2 years! Saved $3,000 vs tile.”
- Lisa, Homeowner
Start your bathroom makeover → [Free Bathroom Planner Tool Here]
(Includes cutting guides and supply list)
Free samples
In recent years, composite products have become more and more popular all over the world. We believe you will also be interested in this new material. If you are interested, you can come to consult us. We have a professional service team that can not only answer any questions you may have but also provide you with free samples. Let you better understand the composite products. There is no doubt that composite wall panels will be the new future.
Share

James is a content creator and decorator with five years of experience designing home decor. In his daily life, james is constantly on the lookout for the latest, great examples of house design and further optimizes his solutions. Additionally, he writes articles related to outdoor design, interior design, and architectural decorating materials to help brands build more engaging relationships with their audiences.

