Quick Answer: What Should Buyers Approve Before Ordering?
For fluted indoor WPC wall panels, approve a connected sample assembly under the intended lighting, then record the visible flute spacing, joint rhythm and wall plane. A single loose sample cannot show how panel edges interrupt the pattern. Also, separate normal shadows inside the grooves from irregular shadows that follow a raised joint or uneven substrate. Define acceptance conditions before a bulk order so the importer, designer and building contractor evaluate the same result.
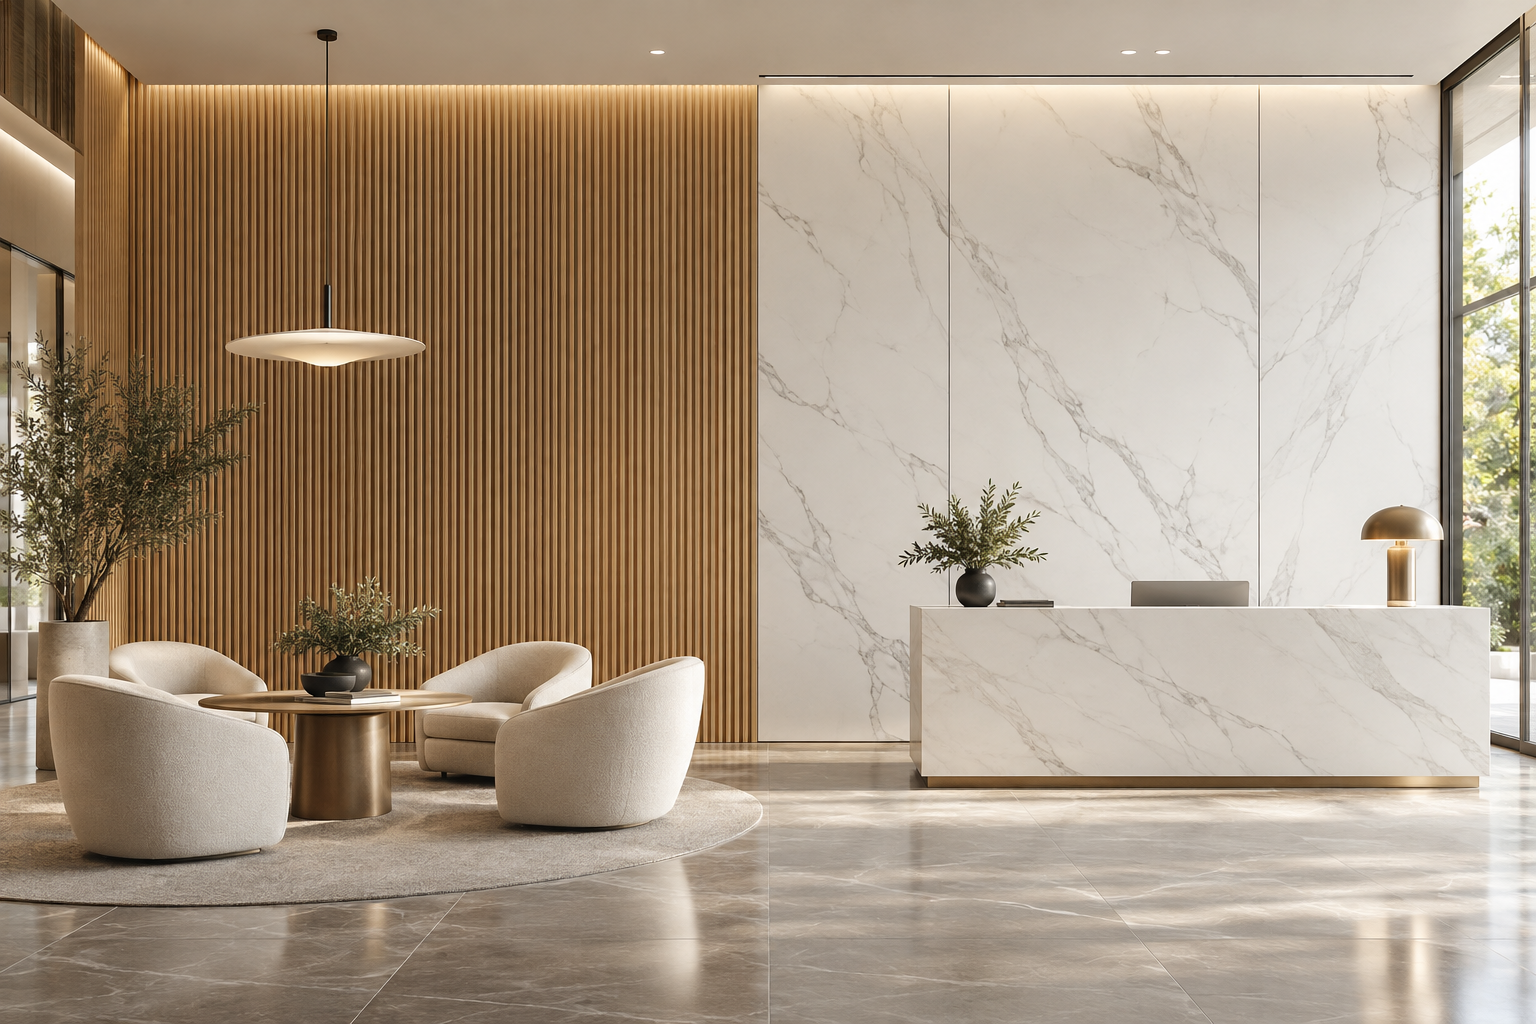
A hotel reception wall illustrates the issue. Its wood-look grooves may look consistent in a small sample box, yet a ceiling light can reveal repeated discontinuities after several panels connect. Consequently, project procurement needs an assembly reference that covers geometry, substrate preparation and final lighting together.
Why Can a Correct Profile Still Produce an Uneven Wall?
The extrusion profile establishes the individual flute shape. However, the assembled wall also includes panel connections, cut edges, perimeter details and the supporting surface. Buyers should therefore compare the approved profile drawing with the installed arrangement instead of treating a decor code as a complete specification.
Lighting changes the visibility of these details. ERCO explains that grazing light emphasizes surface texture, while wallwashing aims for more uniform vertical illumination. This distinction supports a useful review method; it does not establish a WPC product tolerance. See ERCO’s explanation of wallwashing and grazing light.
For example, a regular dark band inside every groove belongs to the chosen design. An extra-wide band at every panel connection may indicate a different issue. First compare the connection with the approved assembly. Then check edge alignment and the supporting plane before attributing the appearance to the material.
Compare Three Different Sources of Visible Discontinuity
| Observation | Evidence to request | Procurement decision |
|---|---|---|
| Every flute casts a similar shadow | Profile drawing and connected sample | Confirm that the designer accepts the intended texture |
| Pattern changes at every panel joint | Effective cover width and edge connection detail | Approve the complete repeating module |
| One joint casts a stronger shadow | Installed edge alignment and local wall plane | Identify the responsible assembly interface |
| A broad shadow crosses several panels | Substrate survey and final light position | Review support preparation and lighting coordination |
| The pattern narrows near a corner | Setting-out drawing and perimeter detail | Agree where the terminal cut belongs |
Use this table to organize questions, not to diagnose a finished wall from a photograph. Moreover, an image cannot establish numerical tolerances or confirm a hidden installation condition.
Specify Effective Cover Width and the Joint Module
Ask the decorative building materials supplier for technical specifications that distinguish overall panel width from effective installed cover width. The connection geometry can affect how adjacent flutes repeat. Therefore, a purchasing comparison that lists only nominal width may miss the dimension that controls the visible wall.
For sample evaluation, connect enough panels to show multiple joints and the proposed terminal detail. Mark the intended orientation on the approval record. Also, include the matching start, end or corner profile when the design uses one; a central field sample cannot resolve a conspicuous perimeter.
Next, compare the approved pattern with the project elevation. Decide whether the layout centers a flute, a groove or a panel module on the reception desk. Small differences at this stage can change both terminal cuts. Consequently, the designer should approve the setting-out reference before the contractor converts the elevation into quantities.
Establish Viewing Conditions Before Accepting the Mock-Up
Record the intended light position, beam direction, output setting and viewing locations. Include the actual approach route to the reception desk and a representative seated view. However, avoid inventing a universal inspection distance: the project team must agree conditions that reflect the finished space and the contract.
Then photograph the accepted assembly with its lighting configuration. Keep an annotated drawing alongside the photographs because exposure settings can hide or exaggerate shadows. If the lighting design changes later, review the visual reference again rather than assuming the original approval covers a different beam direction.
Finally, distinguish an intentional design change from a defect investigation. Moving a luminaire may change the appearance, but it does not prove that the wall meets the agreed installation requirements. Check the assembly against those requirements before selecting a remedy.
Allocate Substrate and Installation Responsibilities
Request the product-specific installation instructions, including compatible supports, fastening or adhesive requirements, and movement provisions. The contractor should check the receiving surface against those instructions. Meanwhile, the designer should coordinate outlets, access panels and junctions so local interruptions do not distort the flute rhythm.
Avoid inserting a generic flatness allowance into every WPC specification. Instead, obtain the selected system’s requirements and agree how the team will measure and document compliance. This approach gives the supplier and contractor a common reference without promising a tolerance that a particular SKU cannot support.
Installation cost should include substrate preparation, setting out, perimeter cuts and the trial assembly. Otherwise, a low panel quotation may create an unrealistic fit-out budget. Likewise, confirm whether the installation method permits local replacement and what adjacent work a repair might disturb.
Compare Quotes Using Accepted Wall Area
An importer or wholesale distributor should compare total delivered scope against the usable wall layout. Include panels, required accessories, trial material, agreed spare stock and the appropriate packaging. Additionally, ask how the selected lengths and profiles affect container loading; do not infer a loading quantity from face area alone.
Separate MOQ by profile and finish, then confirm lead time after sample approval. For custom colors or OEM/ODM cooperation, identify which approved characteristics the customization changes. A new surface finish should not silently replace an approved profile or connection detail.
Long-term durability also depends on the actual interior use and maintenance plan. Discuss groove cleaning and access with the operator when estimating maintenance cost. However, keep this maintenance review separate from visual approval: a convincing reception-wall photograph does not demonstrate abrasion resistance or service life.
Keep Performance Documents Separate from Appearance Approval
Buyers should verify test reports, VOC limits, fire-rating documents and warranty terms for the exact product and intended interior assembly. A reference sample confirms selected visible characteristics; it does not confirm a fire rating or emissions result. Also, indoor WPC wall panels require their own application review and should not inherit claims from outdoor WPC wall cladding.
B2B Buyer FAQs
Can a small sample confirm the finished flute pattern?
It can show one profile and finish. However, buyers need connected panels to review the joint module, edge relationship and perimeter treatment under project lighting.
Does a deeper shadow automatically mean a defective panel?
No. Groove depth, lighting direction and local alignment can all influence the appearance. Therefore, compare the observation with the approved assembly and check the relevant dimensions before assigning responsibility.
Should every supplier quote the same flatness tolerance?
Use the selected system’s documented requirements and the project’s agreed acceptance method. A universal figure may ignore different supports, connections or installation systems.
How should distributors manage replacement orders?
Keep the profile code, effective cover width, finish reference and accessory details with the order. Additionally, request a compatibility review before substituting a later profile or finish revision.
What belongs in a project quotation request?
Provide wall elevations, required lengths, lighting intent, quantity by finish, destination and target delivery date. Include the trial assembly and accessories so the quotation covers the intended finished result.
Request a Connected Sample and a Project Quotation
Send Witop Decor a bulk order inquiry with your reception-wall layout and intended lighting arrangement. Request samples that connect, relevant technical data sheets and a project quotation covering the panel-and-accessory scope. This gives your team a practical basis for approving flute continuity before committing to volume supply.

James is a content creator and decorator with five years of experience designing home decor. In his daily life, james is constantly on the lookout for the latest, great examples of house design and further optimizes his solutions. Additionally, he writes articles related to outdoor design, interior design, and architectural decorating materials to help brands build more engaging relationships with their audiences.