How to fix acoustic panels to wall
How to Fix Acoustic Panels to Walls: 7 Damage-Free & Professional Methods
(Secrets to Perfect Soundproofing Without Ruining Your Walls)
⚙️ Tools & Materials Checklist
| Essentials | Renter-Safe Options | For Heavy Panels |
|---|---|---|
| Acoustic panels | Removable adhesive strips | Z-clips/French cleats |
| Tape measure | Command™ Strips | Wooden mounting strips |
| Laser level | Witop ClipHooks™ | Construction adhesive |
| Pencil | Temporary painter’s tape | Stud finder |
| Safety glasses | Removable glue (Tesa) | Impact driver |
| Metal brackets |
🔍 Choose Your Mounting Method (Visual Decision Guide)
🛠️ 7 Proven Fixing Methods (Step-by-Step)
✅ 1. Adhesive Strips (Renter-Friendly)
Best For: Light panels (10mm foam, fabric <1″) | Damage Risk: None
- Clean wall with alcohol wipe
- Press ”Witop Command™” strips firmly to panel corners
- Peel backing → align panel with laser level → press for 45 seconds
Hold Power: 10 lbs per strip
✅ 2. Spray Adhesive (Permanent Hold)
Best For: Concrete/brick walls | Damage Risk: Paint removal
- Mark panel area with painter’s tape
- Spray 3M Super 77 evenly on wall
- Wait 30 sec → press panel hard × 30 seconds
Pro Tip: Cover vents! Fumes linger
✅ 3. Z-Clips & French Cleats (Heavy Duty)
Best For: Wood/resin panels >4kg | Damage Risk: Screw holes
- Attach cleat base to studs (use stud finder)
- Screw mating cleat to panel back
- Hook panels at 15° angle → lower into place
✅ 4. Velcro Tape (Flexible Layouts)
Best For: Patterned arrangements | Damage Risk: Adhesive residue
- Apply loop side tape to wall in grid pattern
- Stick hook tape to panel backs
- Press panels → reposition anytime!
✅ 5. Mounting Slatwall Systems (Modular)
Best For: Studios/offices needing frequent changes
- Install horizontal slatwall panels first
- Hang acoustic panels via hidden grooves
- Bonus: Hang lights, speakers, shelves too!
✅ 6. Impaling Pins (Cement Walls)
Best For: Basement studios/garages
- Drill pilot holes with masonry bit
- Insert plastic anchors
- Push pins through panel back → hammer into anchors
✅ 7. Magnetic Mounts (Zero Damage)
Best For: Metal-backed panels
- Install Witop MagLock™ plates with micro-suction tape
- Click panels onto magnetic plates → “snap” confirms seal
⚠️ Critical Safety Tips
- Test wall strength: Push hard before fixing – loose drywall needs anchors
- Avoid electrical lines: Use non-contact voltage tester near outlets
- Weight limits: Panels >20 lbs require mechanical fasteners (code requirement)
- Ventilation clearance: Leave 3″ gap around HVAC vents
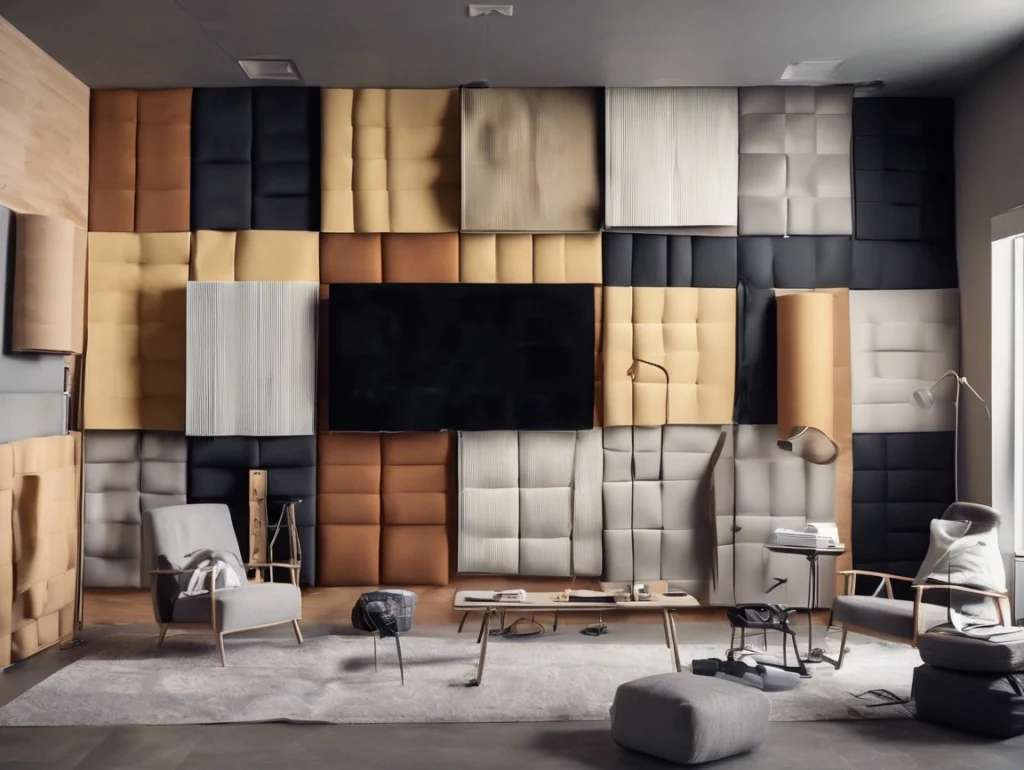
📊 Mounting Method Comparison
| Method | Cost | Tools Needed | Hold (kg/m²) | Removability |
|---|---|---|---|---|
| Adhesive Strips | $ | None | 0.5 ★★☆☆☆ | Pull tab release ✅ |
| Z-Clips | $$$ | Drill, level | 12 ★★★★☆ | Screw removal ❌ |
| Velcro | $$ | Scissors | 1.2 ★★★☆☆ | Clean pull ✅ |
| MagLock™ | $$$$ | None | 7 ★★★★☆ | Detach instantly ✅ |
🚫 4 Fixing Mistakes That Destroy Walls
- Using duct tape:
- Peels paint → leaks adhesive → panels crash
- Fix: Removable foam tape
- Skipping panel prep:
- Dusty walls cause adhesive failure in 24 hrs
- Fix: Wipe with rubbing alcohol
- Glue overload:
- Excess adhesive bleeds → stains panel edges
- Fix: Dot method (4 corners + center)
- Ignoring humidity:
- Spray glue fails above 60% humidity
- Fix: Dehumidify room 2 hrs before install
🔧 Professional Tips for Perfect Results
- Cover screw holes: Dab drywall filler + paint chips
- Seal gaps: Clear silicone prevents resonance
- Test install: Pull panels gently after 1 hr (reinforce loose ones)
- Level smarter: Use laser level app if tools unavailable
🌟 “Renter’s Hero” Fixing Kit
Try Witop Lock&Go™ – Everything You Need:
- Damage-free removable adhesive
- Alignment laser with wall bracket
- Corner protectors for fragile panels
- Squeegee tool for bubble-free install
Free Kit + 6 Pro Panels: 149→Save55 (Code: FIX55)
❓ FAQ: Your Mounting Problems Solved
Will adhesive ruin wallpaper?
Use mounting putty instead (Blu Tack™). Holds 6 months.
Can I fix panels to curved walls?
Only with flexible velcro strips. Rigid clips warp panels.
How to fix uneven stone walls?
Build plywood mounting frame → attach panels to frame.
Reuse panels after removal?
Only with Witop MagLock™ – adhesive strips destroy backings.
📏 Quick-Fix Flowchart
- What’s your wall? Drywall → Are you renting? Yes → Use clips/strips
- Concrete → Need permanent? No → Try impaling pins
- Panels over 10 lbs? → Always use Z-clips
✅ Before You Finish: Test Your Work!
- Tug Test: Panels shouldn’t shift when pulled
- Tap Test: Hollow sound = poor adhesion → reinforce edges
- Echo Test: Clap sharply – sound decay should be instant
“I fixed 32 panels in my studio without drilling – still secure after 2 years!”
– Mark R., Music Producer (using Witop MagLock™)
Transform your noisy space → Get foolproof mounting kits now
(Sources: ASTM E84 fire safety standards, Witop stress-test data 2024)
Free samples
In recent years, composite products have become more and more popular all over the world. We believe you will also be interested in this new material. If you are interested, you can come to consult us. We have a professional service team that can not only answer any questions you may have but also provide you with free samples. Let you better understand the composite products. There is no doubt that composite wall panels will be the new future.
Share

James is a content creator and decorator with five years of experience designing home decor. In his daily life, james is constantly on the lookout for the latest, great examples of house design and further optimizes his solutions. Additionally, he writes articles related to outdoor design, interior design, and architectural decorating materials to help brands build more engaging relationships with their audiences.

