How to install textured wall paneling?
Textured wall paneling adds depth and style to any room, but proper installation is key to ensuring it looks polished and lasts for years. Whether you’re using wood, PVC, or 3D designs, follow this guide to install textured panels like a pro—even as a DIY beginner.
Key Takeaways
- Tools Needed: Level, saw, adhesive, nails, caulk.
- Prep Work: Clean walls, check for uneven spots.
- Install Time: 4–8 hours for a 10×12 ft wall.
- Cost: 3–20 per sq. ft. (DIY saves 50% on labor).
Tools & Materials
| Item | Purpose |
|---|---|
| Textured panels | PVC, MDF, wood, or 3D designs. |
| Construction adhesive | Bonds panels to walls (liquid nails). |
| Level & tape measure | Ensures straight, aligned installation. |
| Circular saw/jigsaw | Cuts panels to fit around outlets, etc. |
| Caulk & paint | Hides gaps and edges. |
| Safety gear | Gloves, goggles, mask. |
Step 1: Prepare the Wall
- Remove old fixtures: Take down shelves, hooks, or outlet covers.
- Clean the surface: Wash walls with soapy water; let dry.
- Repair damage: Fill cracks/spots with spackle; sand smooth.
- Mark studs: Use a stud finder to locate and mark wall studs.
Pro Tip: Use a laser level to check for uneven walls. Fix major dips with drywall shims.
Step 2: Plan the Layout
- Measure the wall: Note height, width, and outlet/vent locations.
- Dry-fit panels: Lay panels on the floor to test the pattern.
- Start from a corner: Begin installing from the least visible corner.
Pattern Tips:
- For horizontal panels, start at the top.
- For vertical panels, start from the left.
Step 3: Cut the Panels
- Measure twice: Mark cutting lines with a pencil.
- Use the right tool:
- PVC/MDF: Circular saw or utility knife.
- Wood: Table saw for precise edges.
- Cut slowly: Avoid chipping textured surfaces.
Safety First: Wear goggles and gloves to protect from debris.
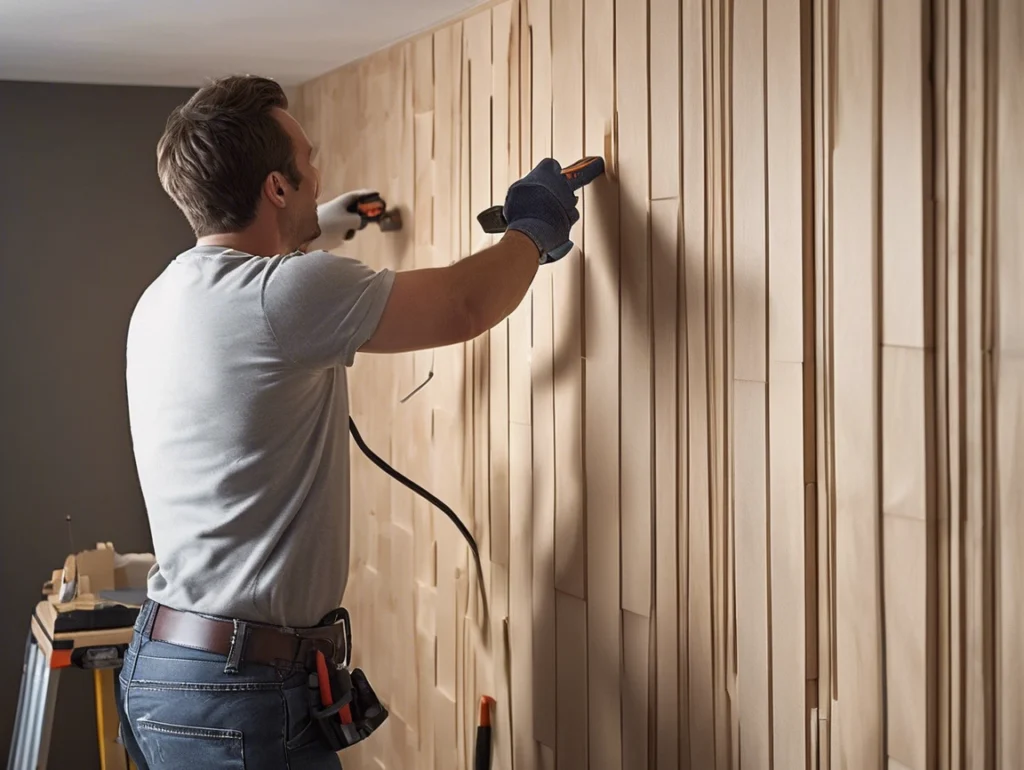
Step 4: Install the Panels
- Apply adhesive: Use a zigzag pattern on the panel back.
- Press firmly: Align the panel with your layout marks.
- Secure with nails: For heavy panels (wood, 3D), nail into studs.
- Check alignment: Use a level after placing each panel.
Pro Tip: Leave 1/8-inch gaps between panels for expansion (especially in humid areas).
Step 5: Finish the Edges
- Trim gaps: Install corner moulding or quarter-round trim.
- Caulk seams: Use paintable silicone to fill gaps.
- Paint/stain: Match trim to panels or walls for a seamless look.
Design Hack: Use contrasting trim colors to highlight textures.
Textured Panel Types & Installation Tips
| Panel Type | Best For | Install Tips |
|---|---|---|
| PVC | Bathrooms, kitchens | Use adhesive + nails for high-moisture areas. |
| MDF | Bedrooms, offices | Prime before painting; avoid water exposure. |
| 3D Geometric | Accent walls | Align patterns carefully; use LED lighting. |
| Reclaimed Wood | Rustic styles | Sand rough edges; seal with polyurethane. |
Cost to Install Textured Paneling
| Project | DIY Cost | Pro Cost |
|---|---|---|
| Accent Wall (50 sq. ft.) | 150–1,000 | 500–2,500 |
| Full Room (200 sq. ft.) | 600–4,000 | 2,000–10,000 |
FAQs
Can I install panels over wallpaper?
Only if the wallpaper is smooth and firmly attached.
How to fix uneven walls before installing?
Use drywall shims or skim coating to level surfaces.
Do textured panels need sealing?
Wood panels do; PVC/MDF panels are pre-sealed.
Can renters install textured panels?
Yes! Use peel-and-stick panels or tension-mounted systems.
5 Common Mistakes to Avoid
- Skipping wall prep → panels warp or detach.
- Ignoring expansion gaps → buckling in humidity.
- Misaligning patterns → visible seams.
- Using wrong adhesive → panels fall off.
- Forgetting safety gear → injuries from tools.
2025 Textured Paneling Trends
- Nature-Inspired: Stone, wood grain, or leaf textures.
- Mixed Materials: Combine wood + metal or 3D + flat panels.
- Smart Panels: Built-in LED lighting or soundproofing.
Conclusion: Transform Your Walls
Installing textured wall paneling is a DIY-friendly way to add character to any room. With the right tools, prep, and patience, you can create a stunning feature wall that impresses for years.
Ready to start? Shop textured panels or download our free installation guide!
Free samples
In recent years, composite products have become more and more popular all over the world. We believe you will also be interested in this new material. If you are interested, you can come to consult us. We have a professional service team that can not only answer any questions you may have but also provide you with free samples. Let you better understand the composite products. There is no doubt that composite wall panels will be the new future.
Share

James is a content creator and decorator with five years of experience designing home decor. In his daily life, james is constantly on the lookout for the latest, great examples of house design and further optimizes his solutions. Additionally, he writes articles related to outdoor design, interior design, and architectural decorating materials to help brands build more engaging relationships with their audiences.