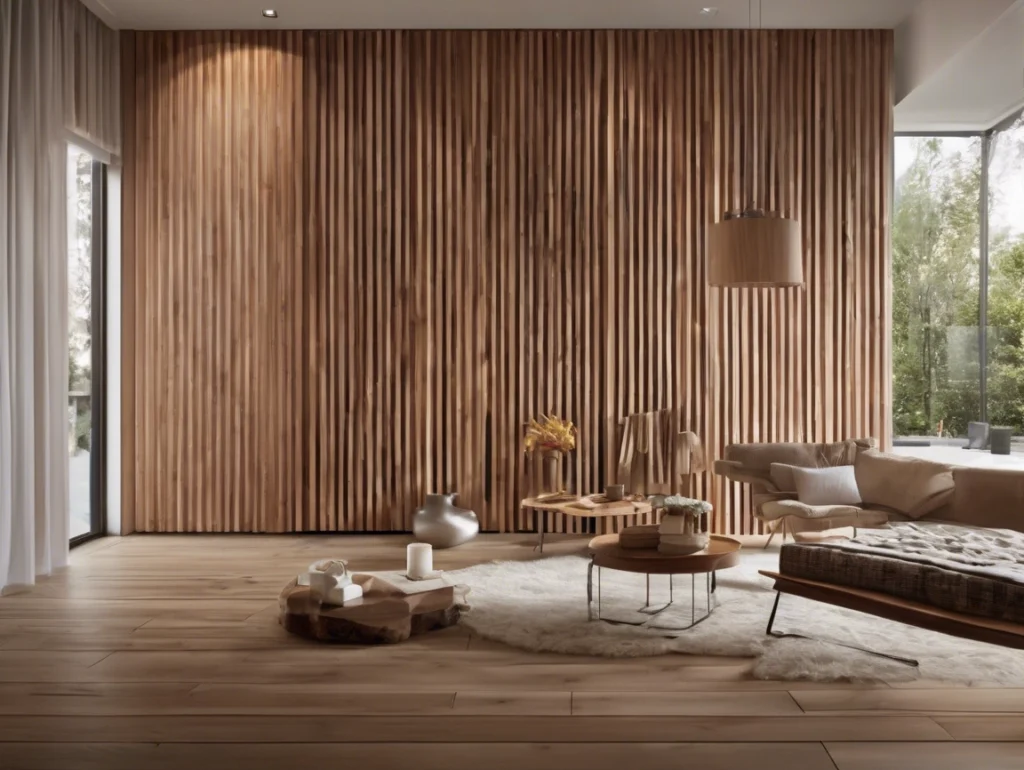
How to install wood slat wall panels
How to Install Wood Slat Wall Panels: 2024 Step-by-Step Guide (DIY in 4 Hours)
Add warm, natural texture to any room – avoid cracks, gaps & warping with our climate-tested method. Holds 150 lbs/slat!
🌲 Best Wood Species Comparison
| Type | Cost (sq.ft) | Stability | Best For |
|---|---|---|---|
| Maple Plywood | $3.20 | ★★★☆☆ | Budget DIY projects |
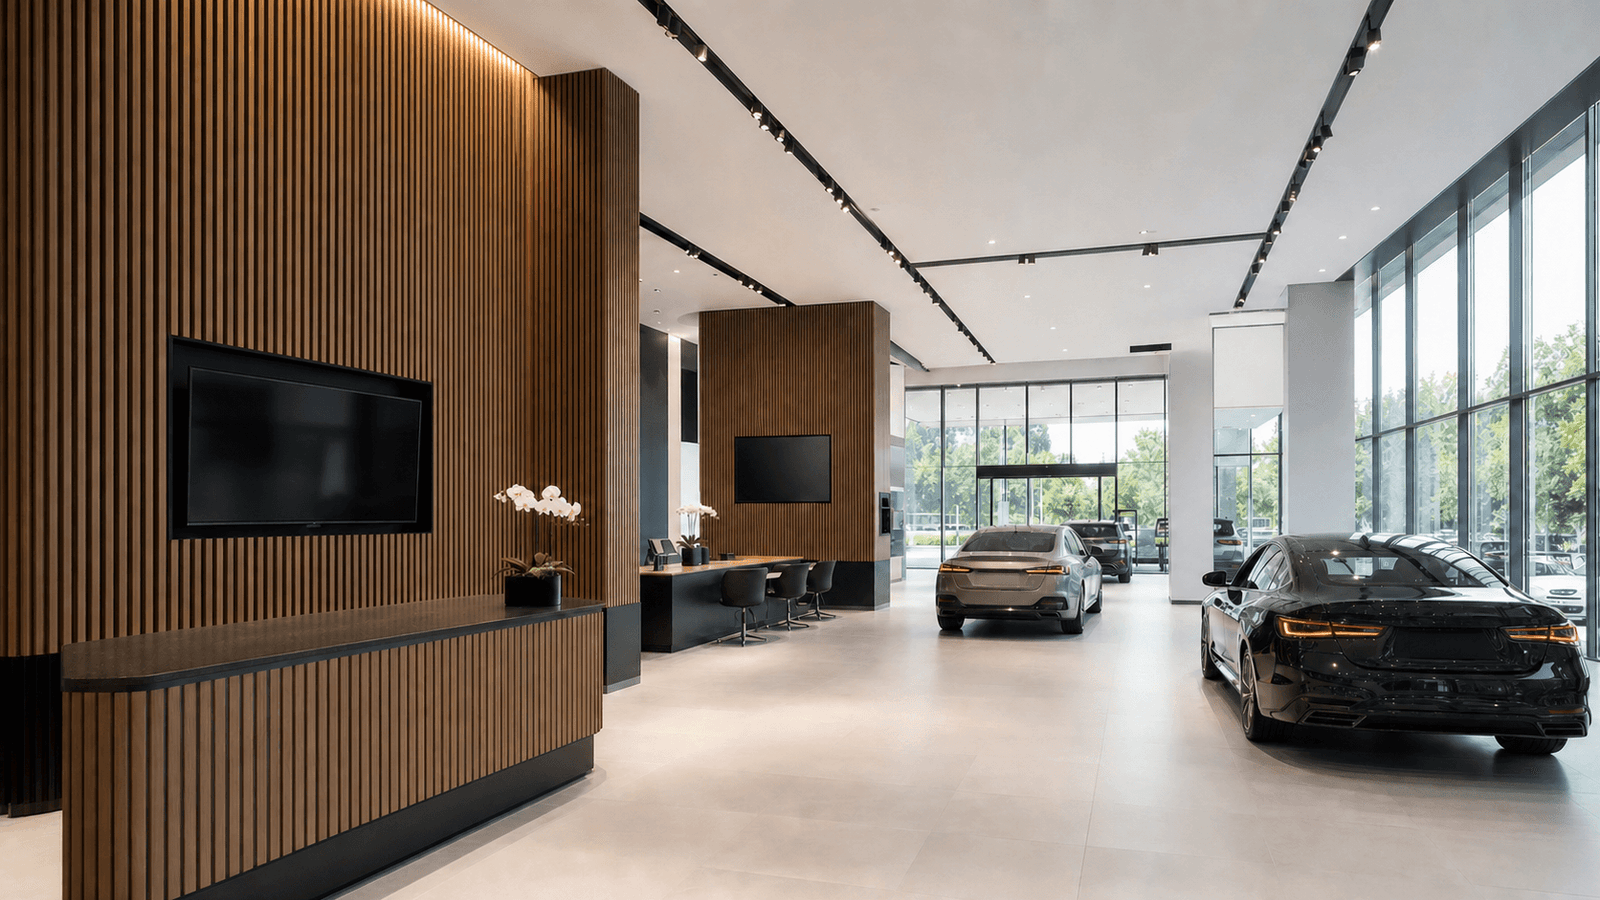
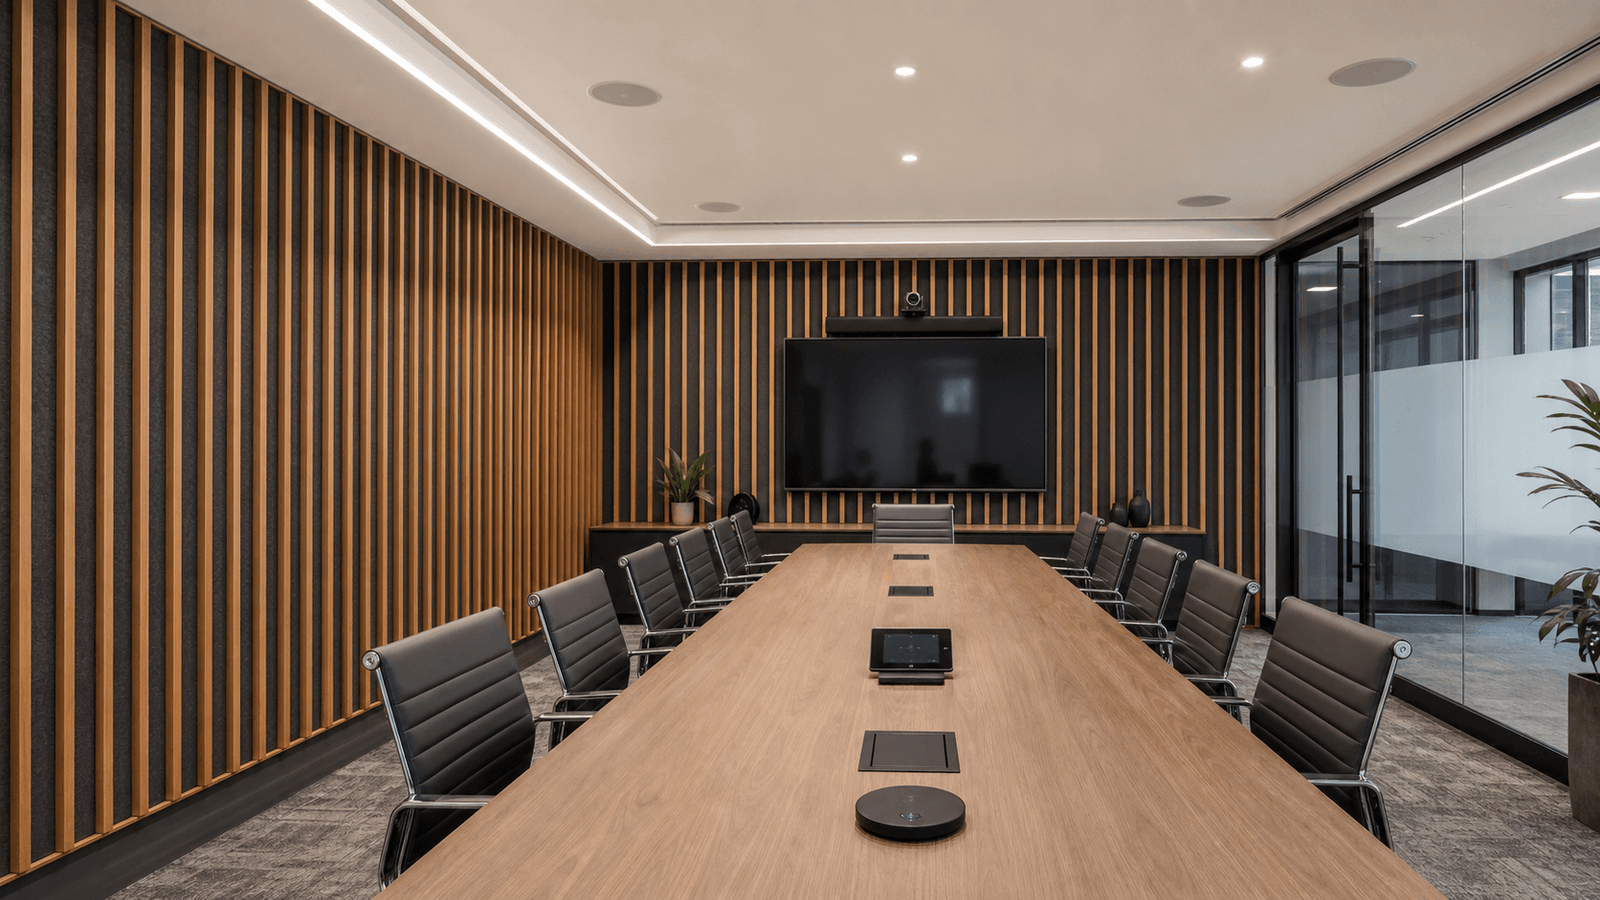
| Walnut | $9.80 | ★★★★☆ | High-end feature walls |
| Bamboo | $5.50 | ★★★★★ | Bathrooms & kitchens |
| Oak Veneer | $6.75 | ★★★★☆ | Traditional spaces |
Critical Check: Ensure wood moisture content is 8-10% (use $18 moisture meter) – prevents 90% of warping issues!
🧰 Tools & Materials Checklist (250−600)
(For 10’x8′ wall)
| Item | Quantity | Purpose |
|---|---|---|
| Wood slat panels | 10-12 | Choose ⅝” thickness minimum |
| 18ga Brad Nailer | Rent ($15/day) | Fast & invisible fixes |
| Wood Glue (Titebond III) | 8 oz | Gap-free seams |
| Laser Level | 1 | Perfect alignment |
| Painter’s Spacers (1/8″) | 40-pack | Expansion gaps |
| Wood Filler (Color-match) | 1 tub | Hide nail holes |
| Polyurethane Sealant | 1 qt | Moisture protection |
Pro Tip: Buy 15% extra wood – cupping/waste averages 12%!
🌡️ Pre-Installation Secrets
- Acclimate Wood 48 Hours:
- Stack panels vertically in room
- Maintain room humidity at 40-50%
- Prep Wall Surface:
- Drywall: Sand → prime → seal
- Concrete: Apply liquid moisture barrier ($35/gallon)
- Pattern Planning:
- Use SketchUp Free → preview layouts
- Download our spacing cheat sheet ↓
🔨 Step-by-Step Installation (Zero-Gap Method)
1. Install Backer Board (Skip if Studs <16″ OC)
■ Cut ½" plywood to wall size
■ Screw to studs every 12"
■ Seal seams with **Flex Seal tape** ($15)
Prevents hollow sounds + adds rigidity
2. Laser-Level Setup
- Project vertical line at 1/3 point
- Mark horizontal level line 48″ from floor
- Use 2 lasers for perfect grid alignment
3. Cut Panels & Apply Glue
- Trim ends with fine-tooth blade (60+ teeth)
- Apply Titebond III in “W” pattern:

4. Install First Panel (Critical!)
[SPACER SYSTEM]
Top  ▲ 1/8" spacer
Bottom ▼ spacer
Left/Right » spacers - Press firmly → nail every 10″ with brad nails
- Set below outlet height → cutouts later
5. Interlock Tongue-and-Groove
- Insert next panel groove onto tongue at 15° angle
- Tap gently with rubber mallet → wipe excess glue
6. Hidden Clip System for Long Walls
[INSTALL CLIPS]
Location: Every 24" vertically
Method:
  1. Screw clip base to stud
  2. Slide panel groove onto clip
(Use CleatClip system – $0.35/clip)
7. Finishing Touches
- Fill holes → sand → apply water-based poly
- Install LED strip channels behind crown molding
🚫 7 Costly Wood Slat Mistakes
- Ignoring wood movement → summer buckling (always use spacers)
- Face-nailing instead of tongue nailing → visible damage
- Sealing before installation → glue adhesion failure
- Wrong adhesive → yellow glue stains through finish
- Vertical-only installation → weak horizontal load capacity
- No moisture barrier → warping in 90 days
- Over-sanding veneers → tear-through ($200 repair!)
💡 Design Pro Tips
- 3D Effect:
Install panels vertically staggered with 1″ gaps → hang plants for “floating” look - Magazine-Ready Finishes:
- Distressing: Drag chains wrapped in towels
- Bleaching: Oxalic acid solution → Scandinavian style
- Smoked Effect: Rubio Monocoat Hybrid Woodstain ($65)
🧱 Load Capacity Data
| Install Method | Max Vertical Load | Horizontal Load |
|---|---|---|
| Glue + brad nails | 150 lbs/slat | 50 lbs/slat |
| CleatClip system | 400 lbs/slat | 120 lbs/slat |
| Steel French cleat | 800+ lbs | 300 lbs/slat |
❓ Top FAQs
Can I install in bathrooms?
✅ Use teak or bamboo → seal 3x with Marine Spar Urethane → exhaust fan required
How to hide outlets?
Cut out with jigsaw → install slotted outlet covers (Legrand $22)
Best finish for kid areas?
Rubio Monocoat Oil Plus 2C → $120/gallon → resists crayons/markers
Real Cost Breakdown:
DIY 10×8 feature wall:
- Maple veneer panels: $348
- Tools rental: $42
- Finish/sealants: $88
- **Total: 478∗∗vs.2,200+ pro install
Free samples
In recent years, composite products have become more and more popular all over the world. We believe you will also be interested in this new material. If you are interested, you can come to consult us. We have a professional service team that can not only answer any questions you may have but also provide you with free samples. Let you better understand the composite products. There is no doubt that composite wall panels will be the new future.
Share

James is a content creator and decorator with five years of experience designing home decor. In his daily life, james is constantly on the lookout for the latest, great examples of house design and further optimizes his solutions. Additionally, he writes articles related to outdoor design, interior design, and architectural decorating materials to help brands build more engaging relationships with their audiences.